

Would you like to add a contact form to your WordPress site?
A contact form is a must-have, making it easy for visitors to reach out. It makes it simple for your audience to connect with you, whether they have a question, want to leave feedback, or are interested in your services. It’s a key part of building a professional and accessible online presence.

In this post, we’ll show you how to quickly set up a simple contact form on your WordPress website and get it working.
Why Do You Need a WordPress Contact Form?
A contact form is essential for any website. It provides a professional and convenient way for visitors to reach out to you. Here’s why you need one:
- Build Trust: A professional contact form builds trust with your visitors. It shows you’re accessible and value communication.
- Spam Reduction: Contact forms can help reduce spam by using CAPTCHAs or other validation methods.
- Improve Organization: You can customize your form to collect the exact information you need, making it easier to manage inquiries and follow up effectively.
- Convenience: Visitors appreciate the convenience of contacting you directly from your site. It’s a smoother and more user-friendly experience than having to find your email address.
- Marketing Opportunities: Depending on the information you collect, contact forms can even help you generate leads and understand your audience better.
What You Need to Know Before You Start
Before beginning the tutorial, you must install a reliable form plugin on your site. When it comes to forms, FireBox is the best WordPress contact form plugin. It features a powerful form builder for WordPress based on the Gutenberg Block Editor. With a user-friendly interface, FireBox allows you to easily create and customize forms that convert and sync submissions with your favorite CRM such as MailChimp, Brevo, AcyMailing, and 8,000+ Zapier Apps.
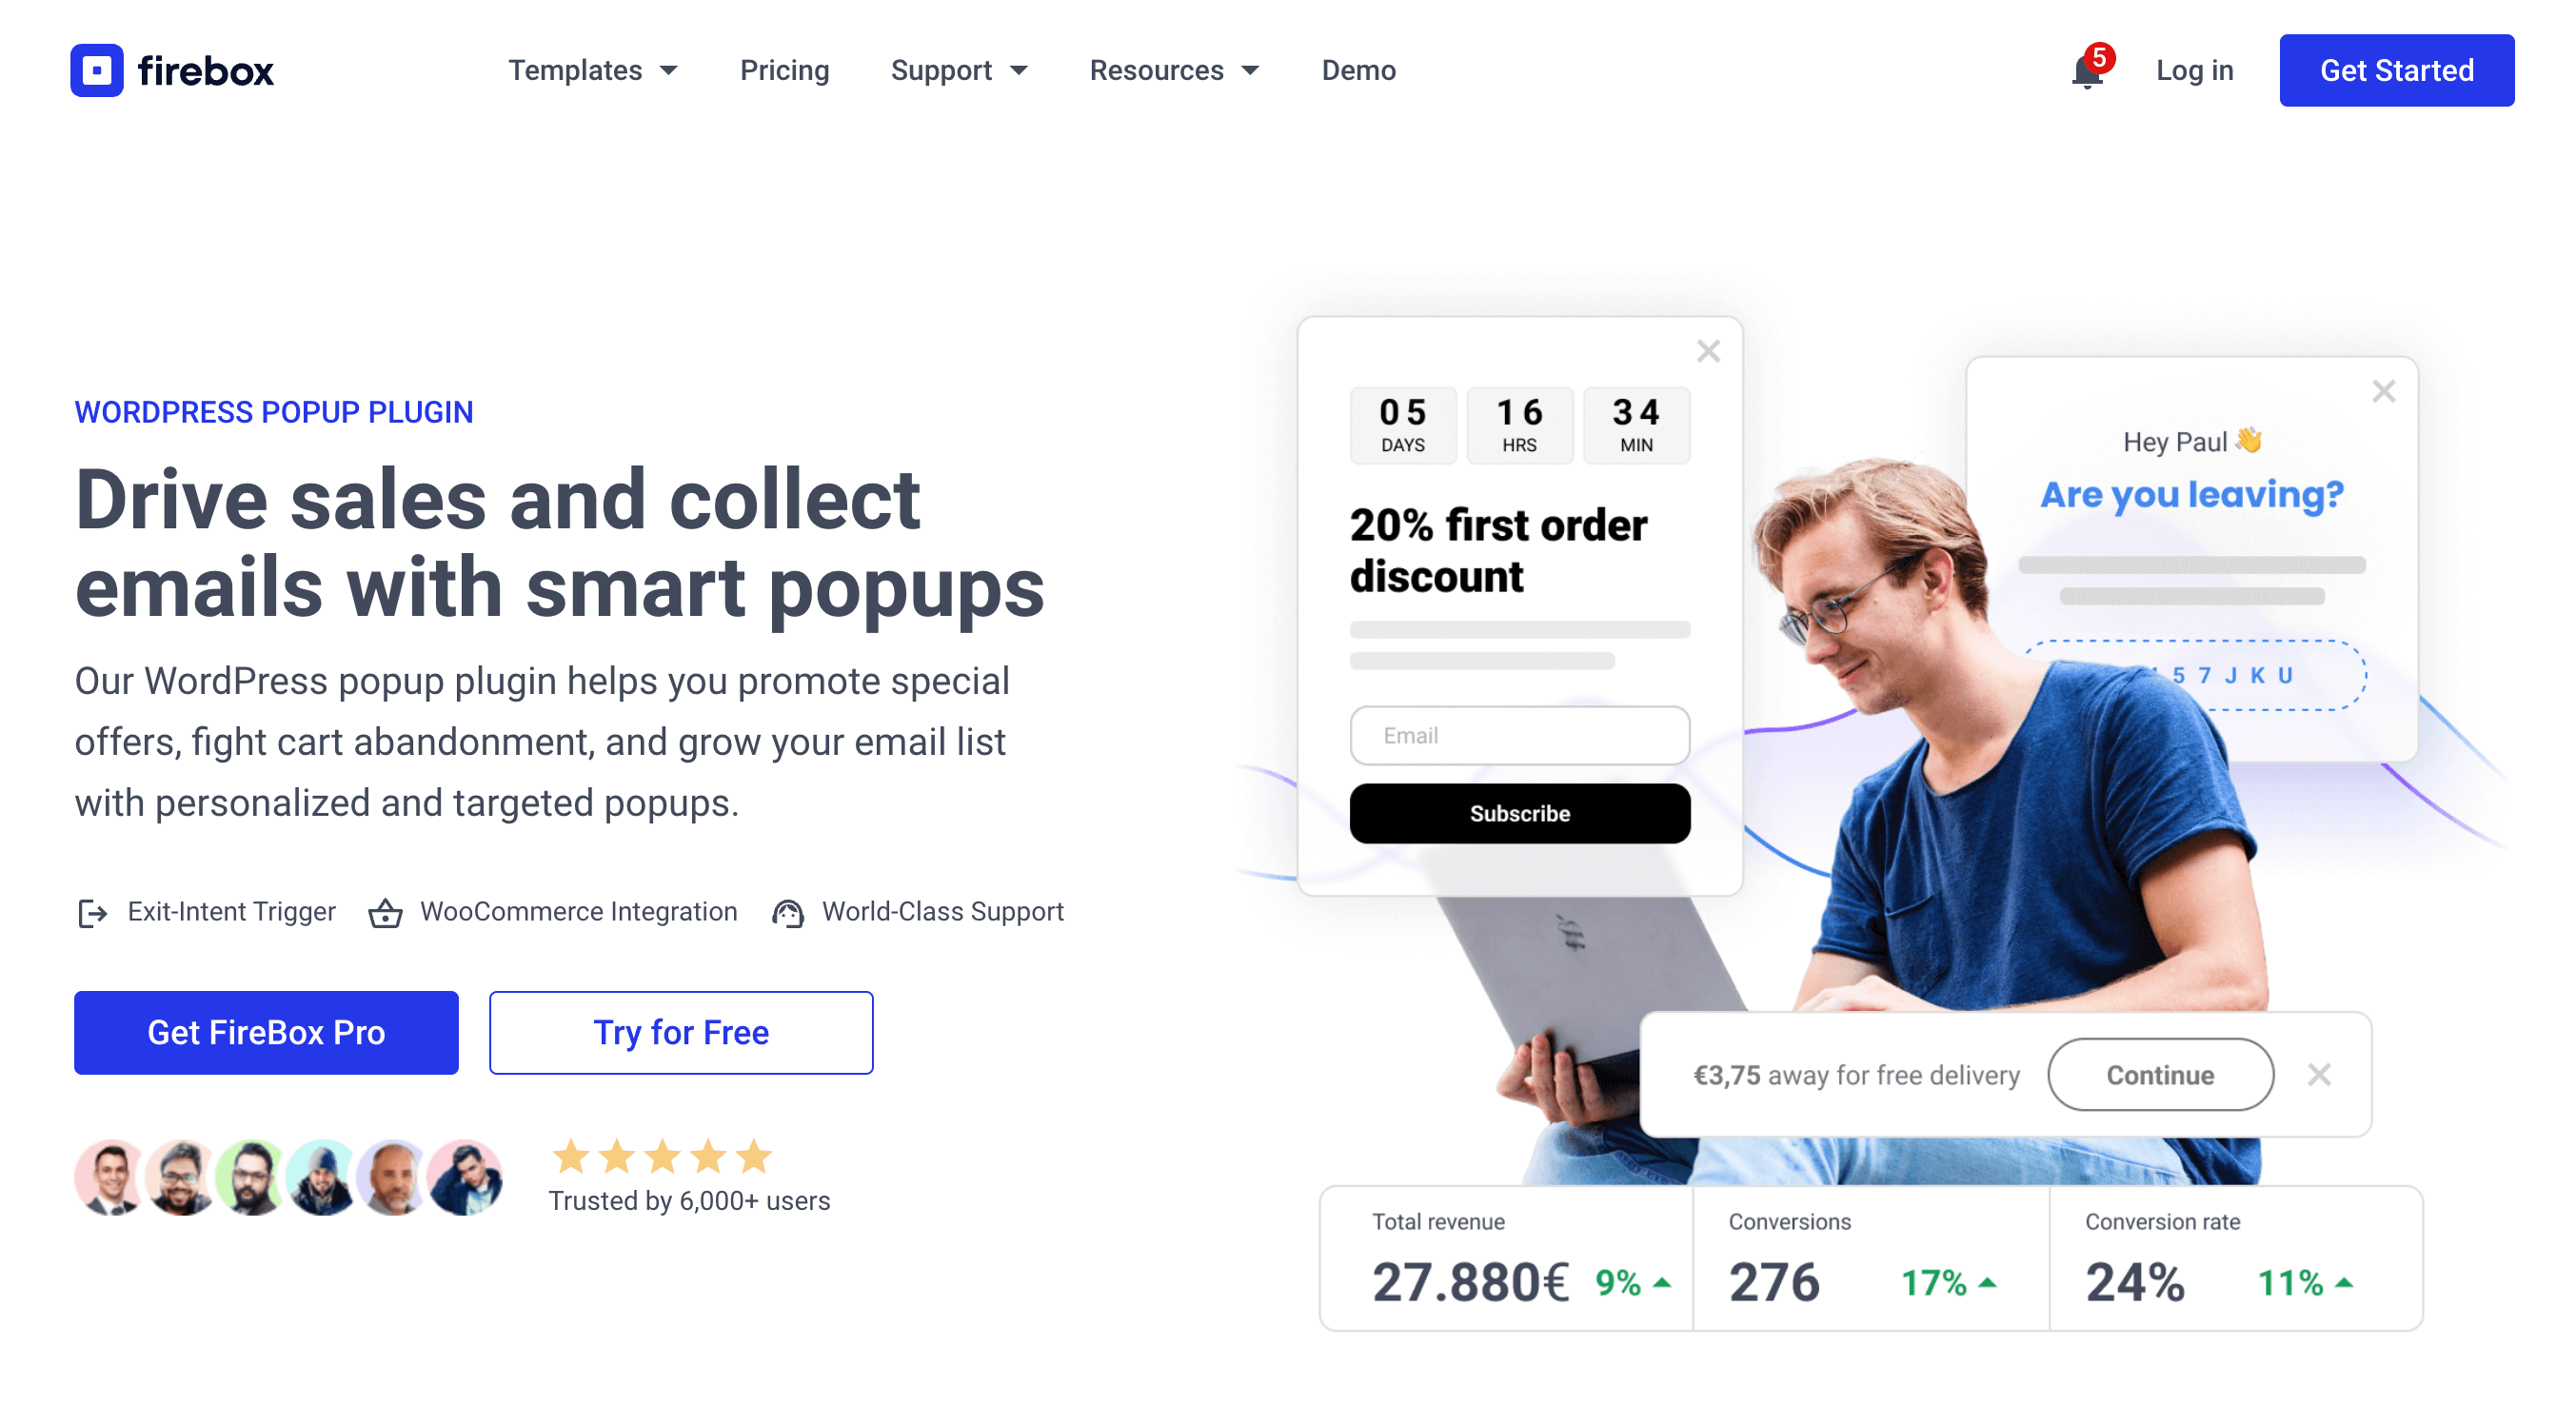
FireBox offers precise control over when the forms appear, giving you access to creating personalized and targeted forms with display conditions based on Device, Referrer, Page, URL, Cookie, Geolocation, Datetime, and even conditions for WooCommerce.
Step 1: Download FireBox Lite
The very first step is to download FireBox Lite and install it on your WordPress site by following the steps listed below.
Step 2: Install FireBox Lite
After downloading the FireBox Free installation zip file, upload it to your site.
- Head to your WordPress dashboard and click on Plugins > Add New.
- Choose the zip file you have just downloaded. Click on install.
- Once the plugin is installed, click the Activate Plugin button to activate the plugin on your site.
If you need any help with the installation process, see the documentation on installing FireBox for help. Looking to go Pro? Don’t worry, if you’re already using FireBox Lite, you can easily upgrade from Lite to Pro. However, after upgrading to Pro, you must also activate your license to ensure you receive automatic plugin updates.
How to Create a Simple Contact Form (Step-by-Step Tutorial)
Now that you’ve installed FireBox, we’re ready to dive into creating a simple contact form for your WordPress website.
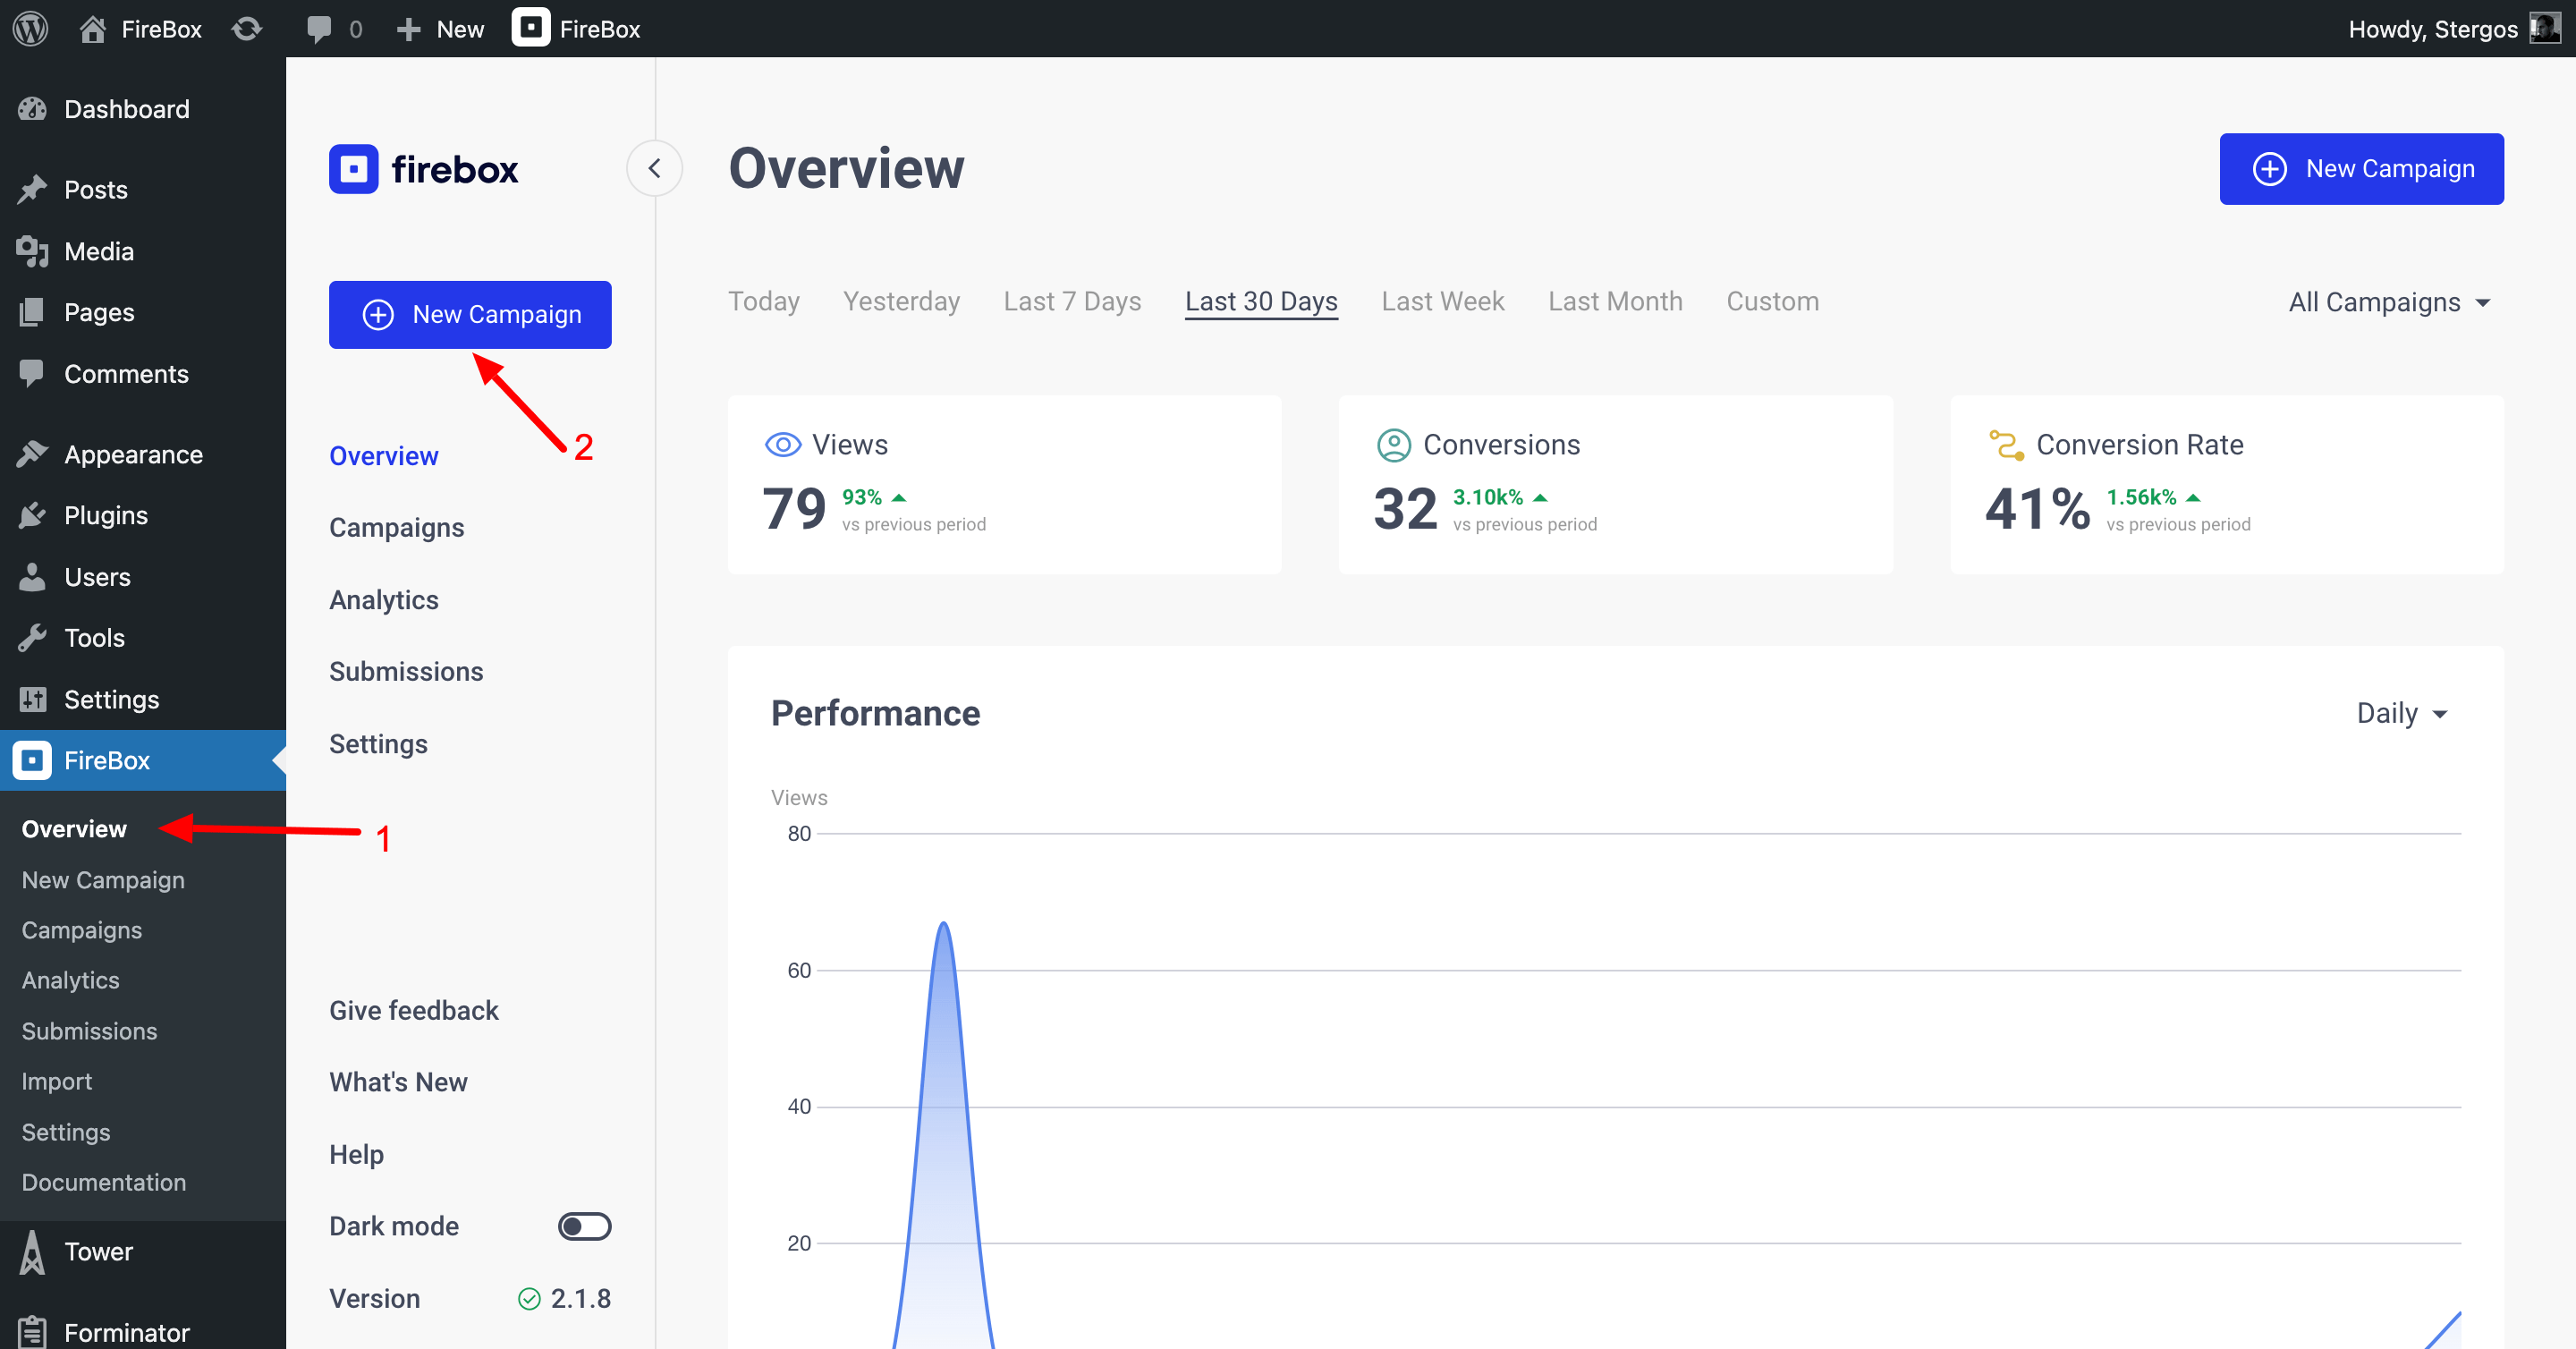
Step 1: Create a new campaign
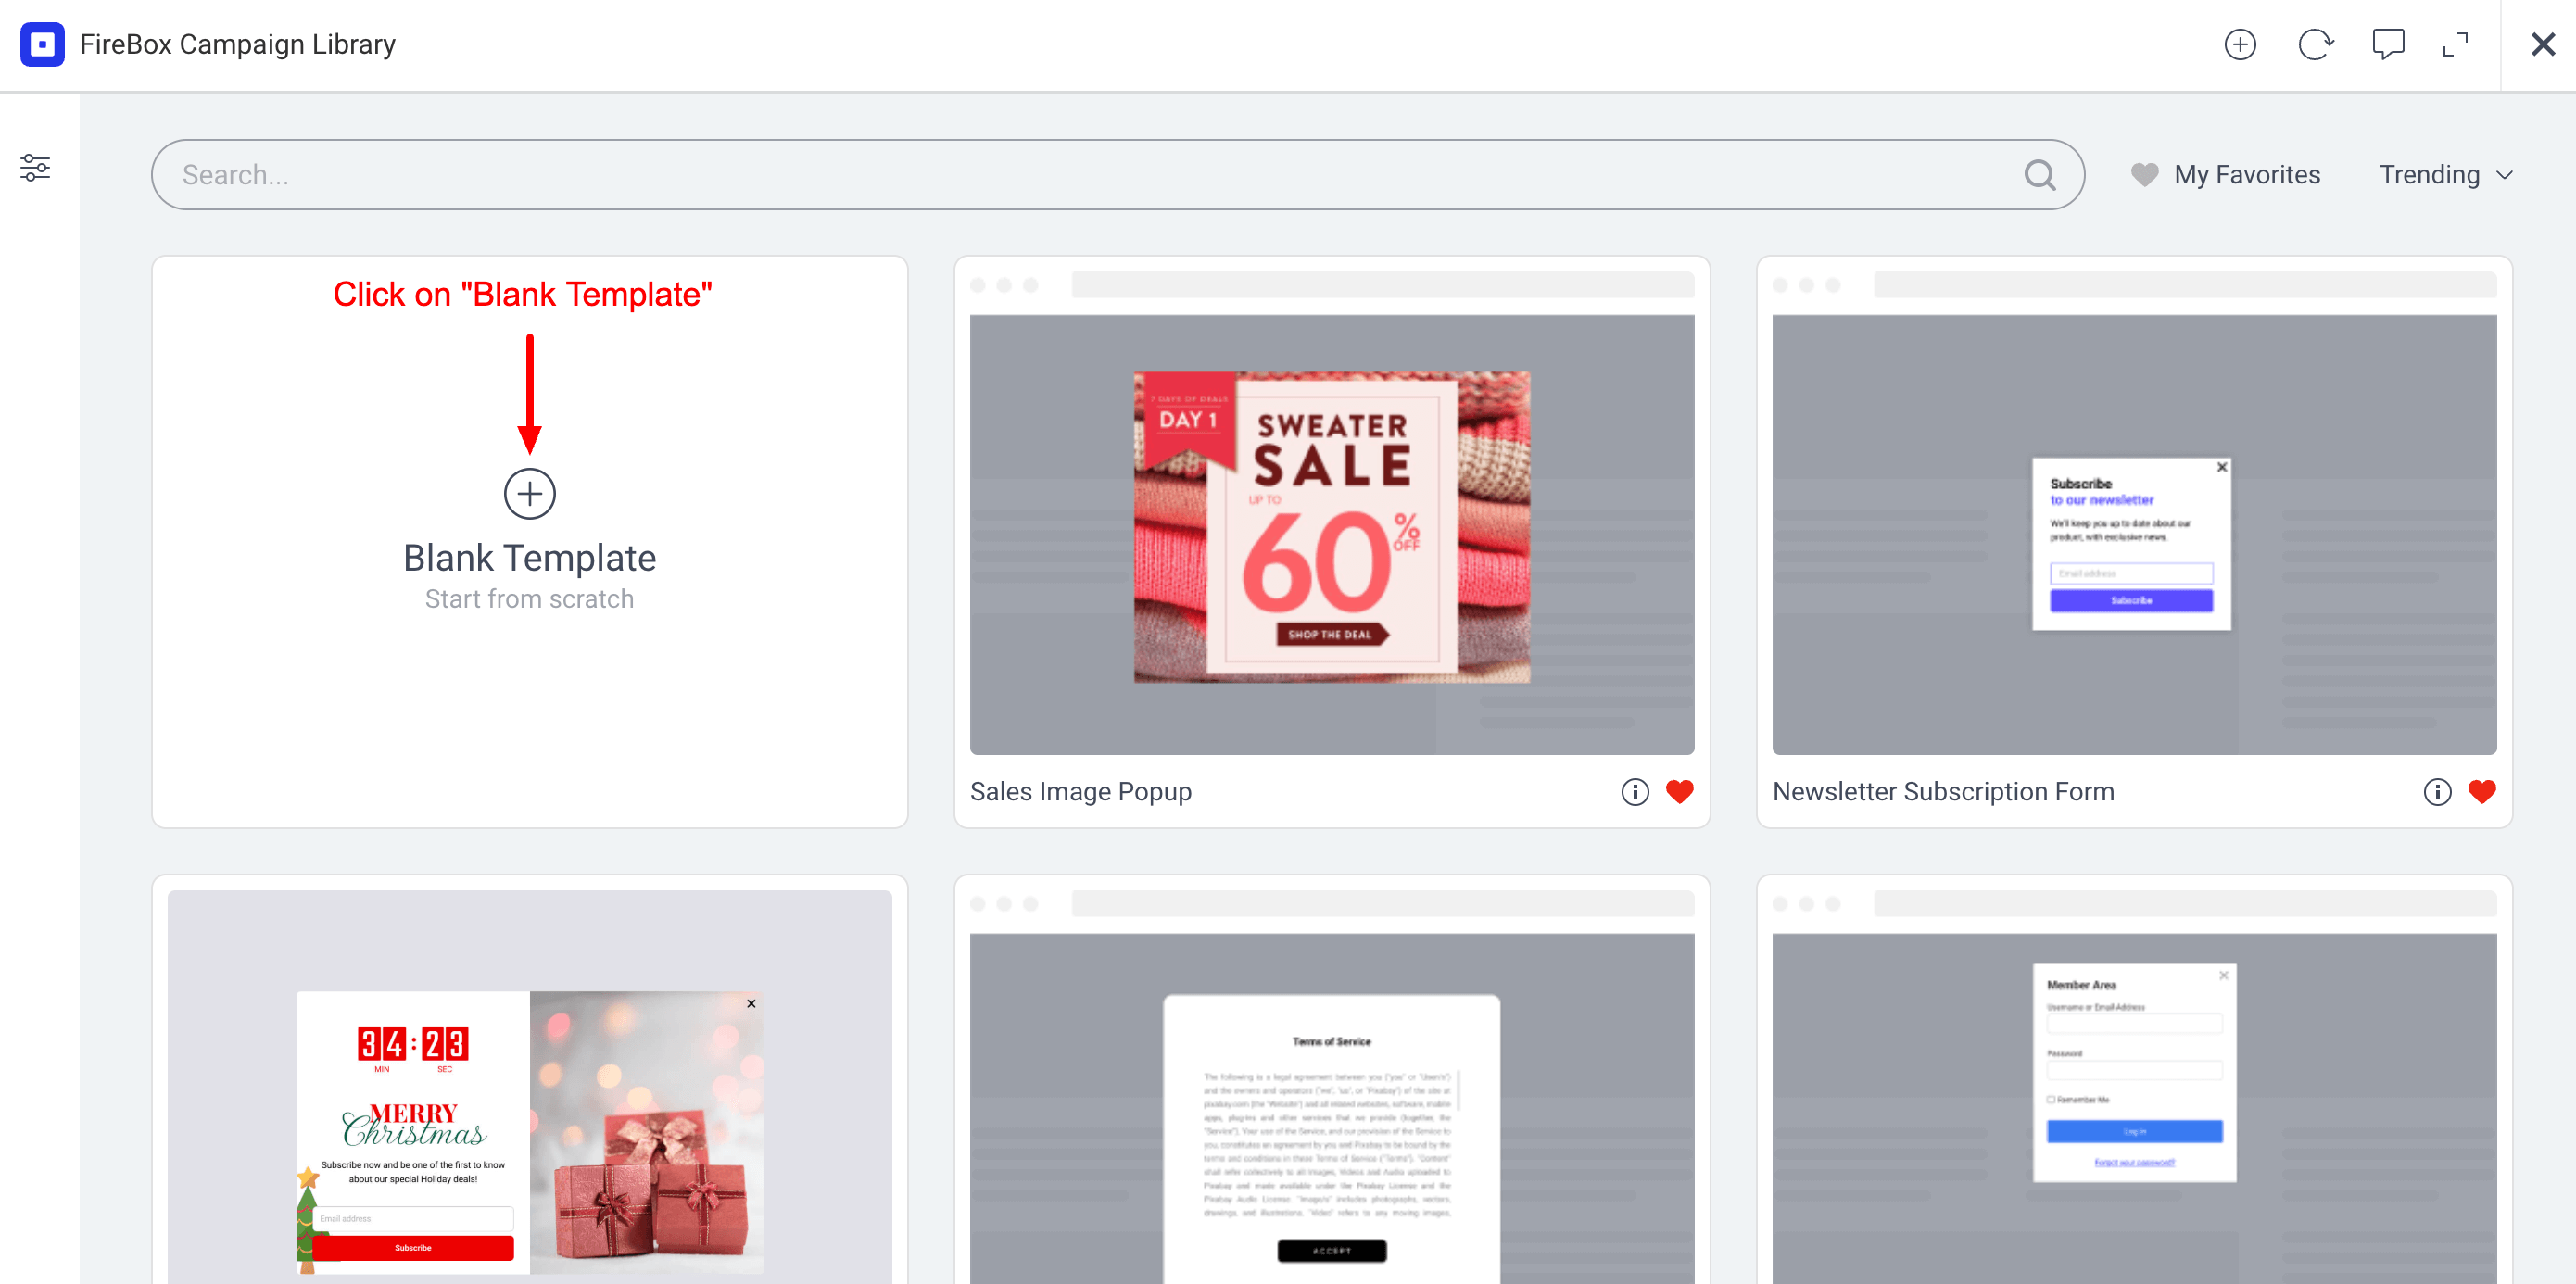
Let’s get started by creating a new campaign. Navigate to FireBox > New Campaign.
Next, select the “Blank Template” option from the FireBox Campaign Library modal. This allows us to get started fresh, with a contact form that will suit our needs.
Step 2: Add form to campaign
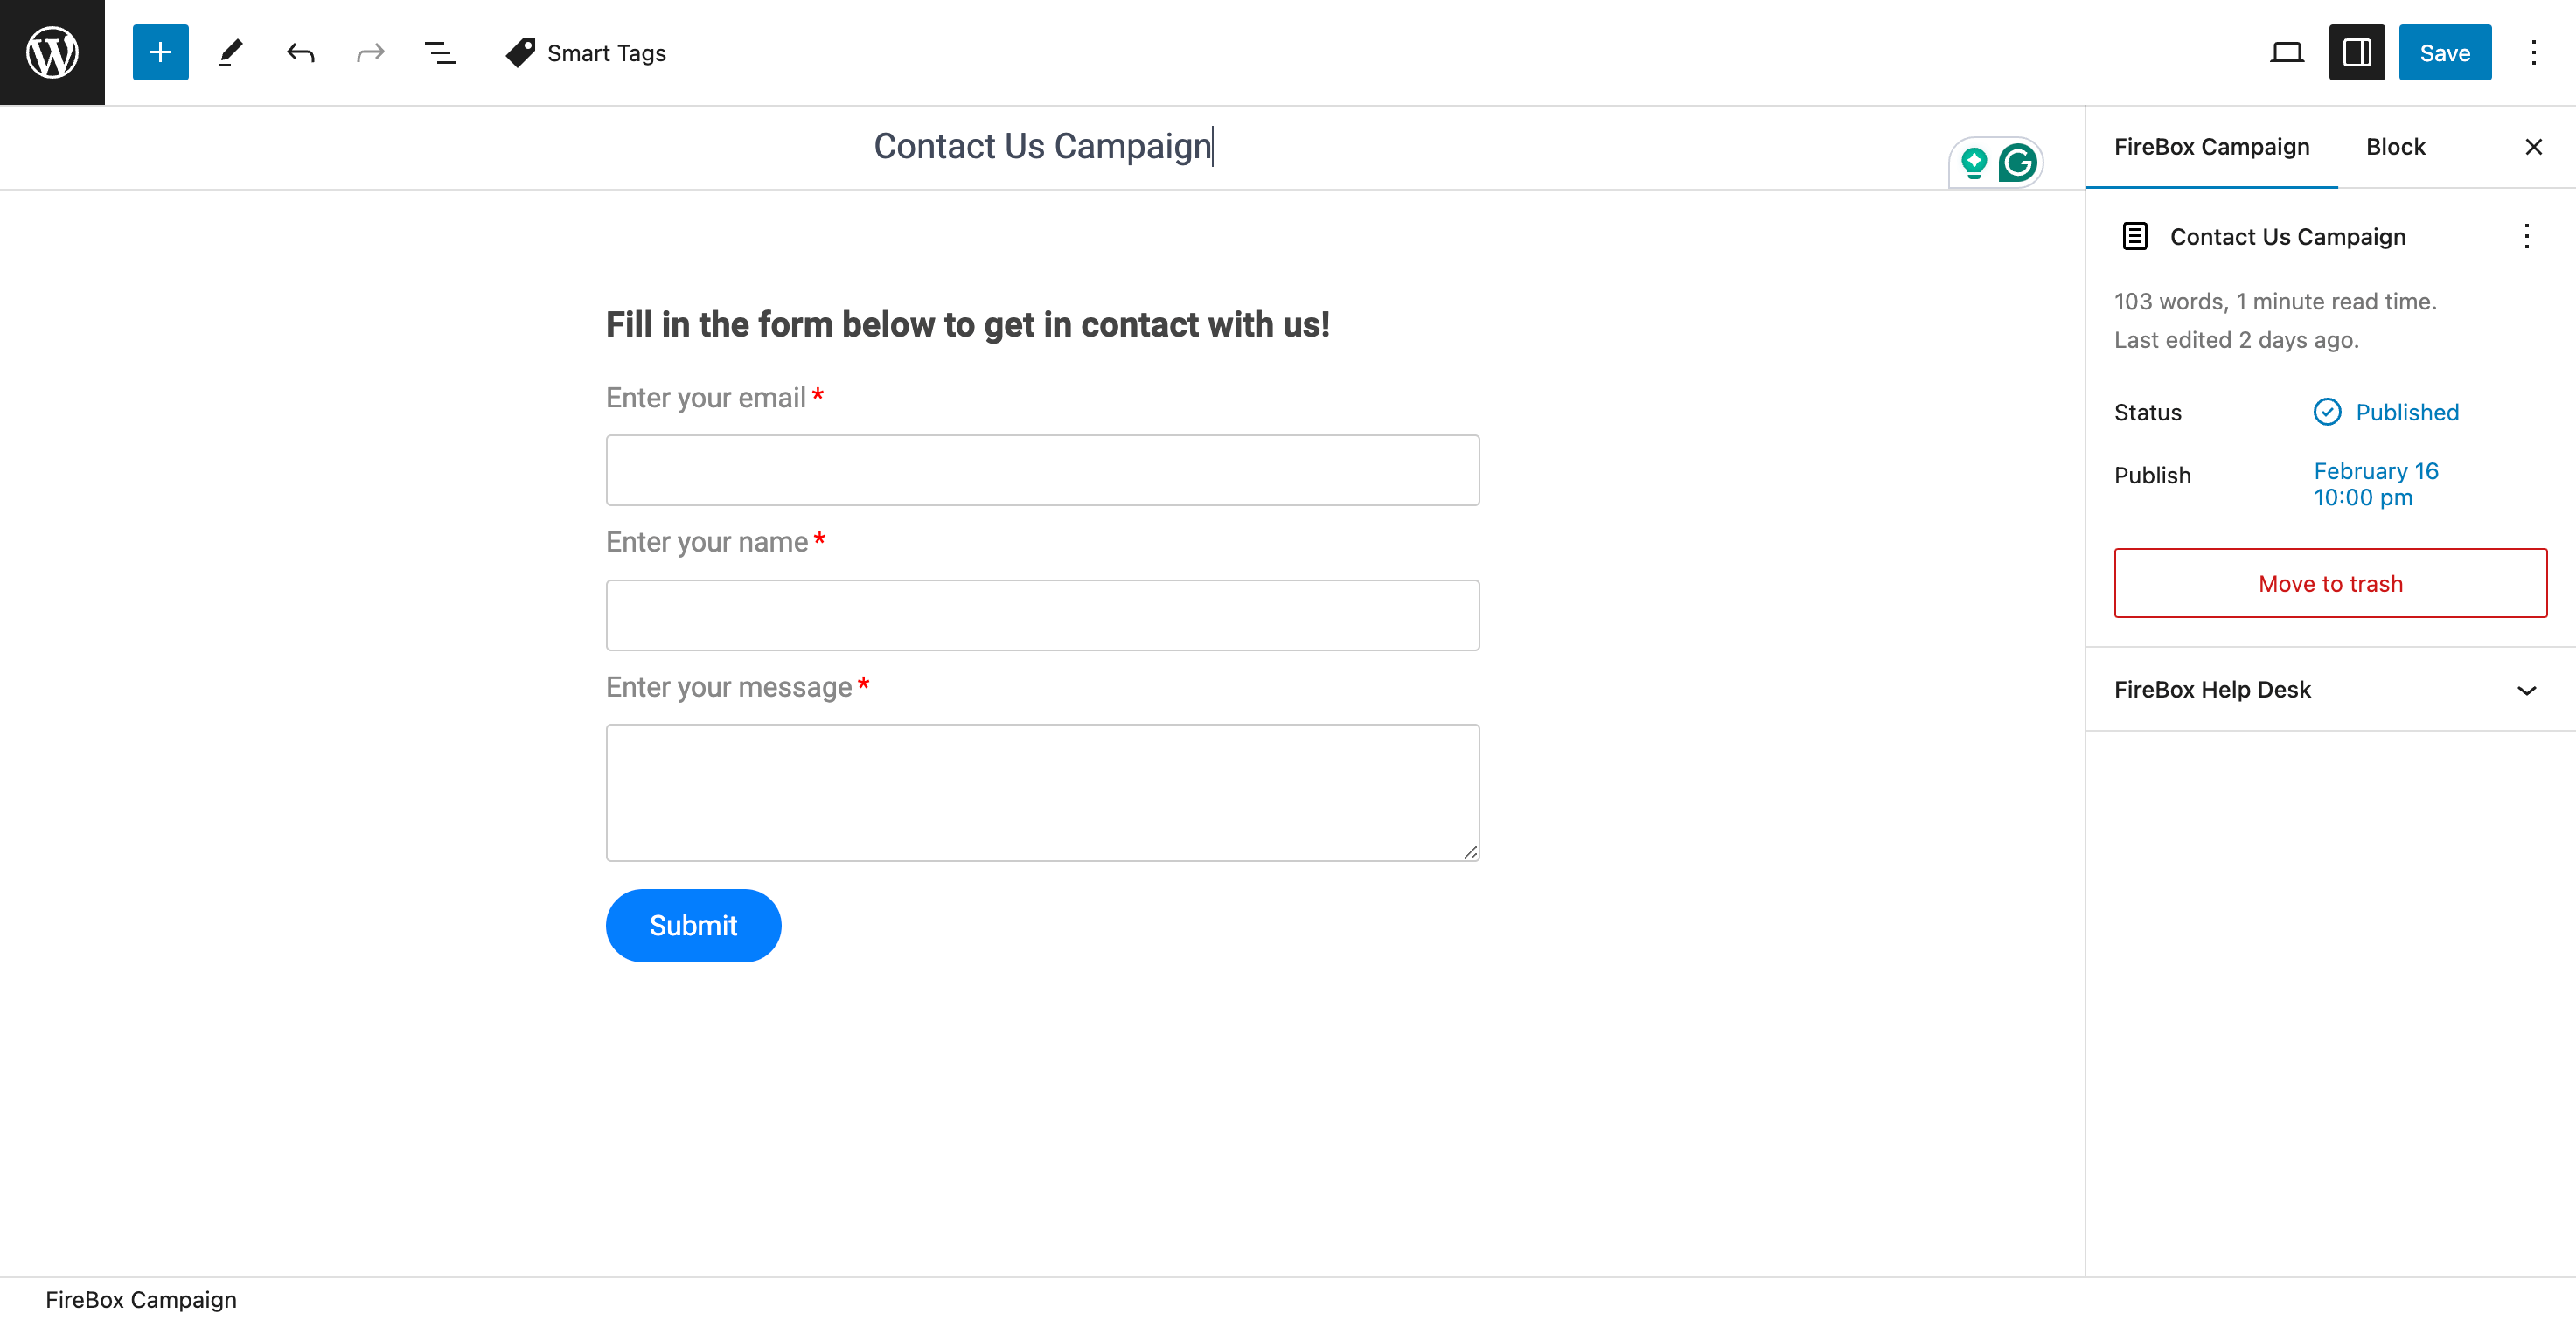
The next step is to add the FireBox – Form block to our campaign and configure it according to our needs. In this example, we’ve added a heading block and a form block that contains three fields: An email field, a name field, and a message field. All of these are crucial to being able to contact our visitors.
Step 3: Customize campaign
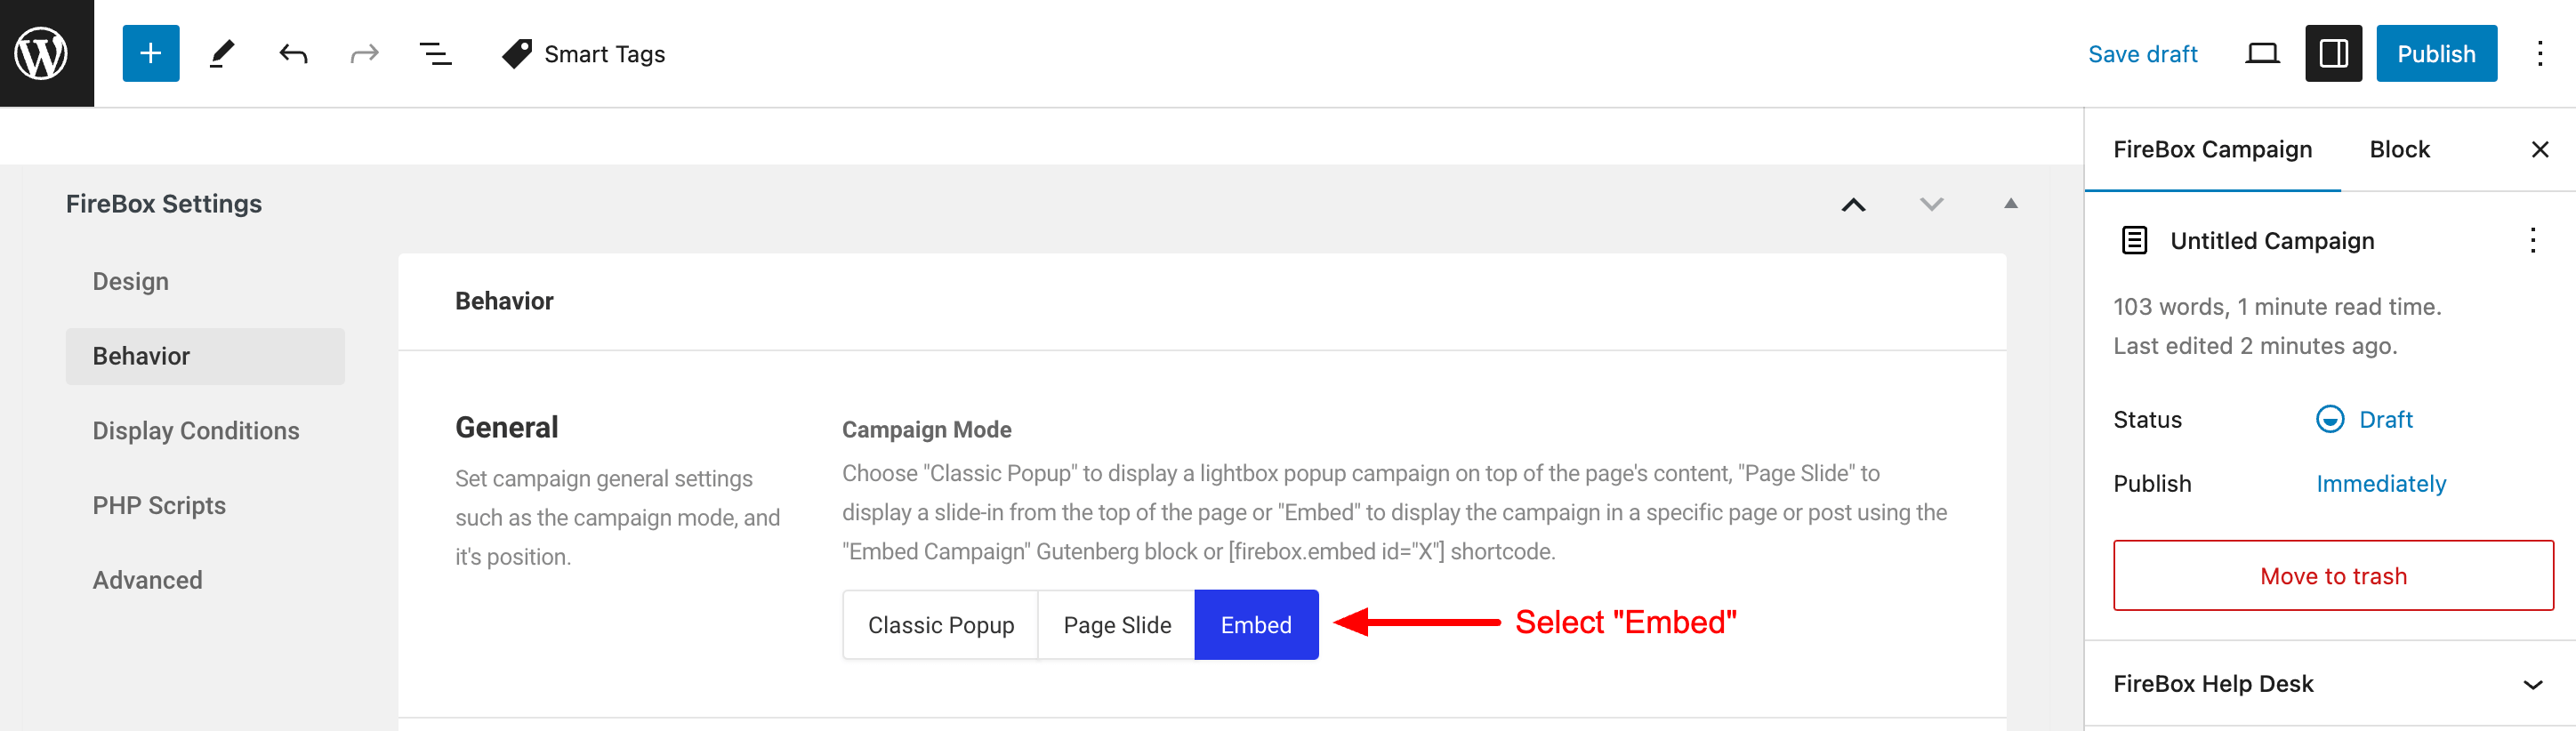
In order to embed our contact form campaign into our WordPress posts and pages, we must set the Campaign Mode to “Embed”. We can do this by navigating to the Behavior Tab > General section > Campaign Mode setting and selecting the “Embed” option.
Step 5: Configure Email Notifications
Once you’ve created your contact form, it’s time to set up email notifications.
Email Notifications lets you send separate emails for the user (such as a “thank you” or confirmation message) and for the admin (so you know right away when someone fills out the form).
Select the Form block and go to the Actions panel. Select the “Send Email Notifications” action. Here, you can manage multiple notifications for different recipients—both the user and the admin
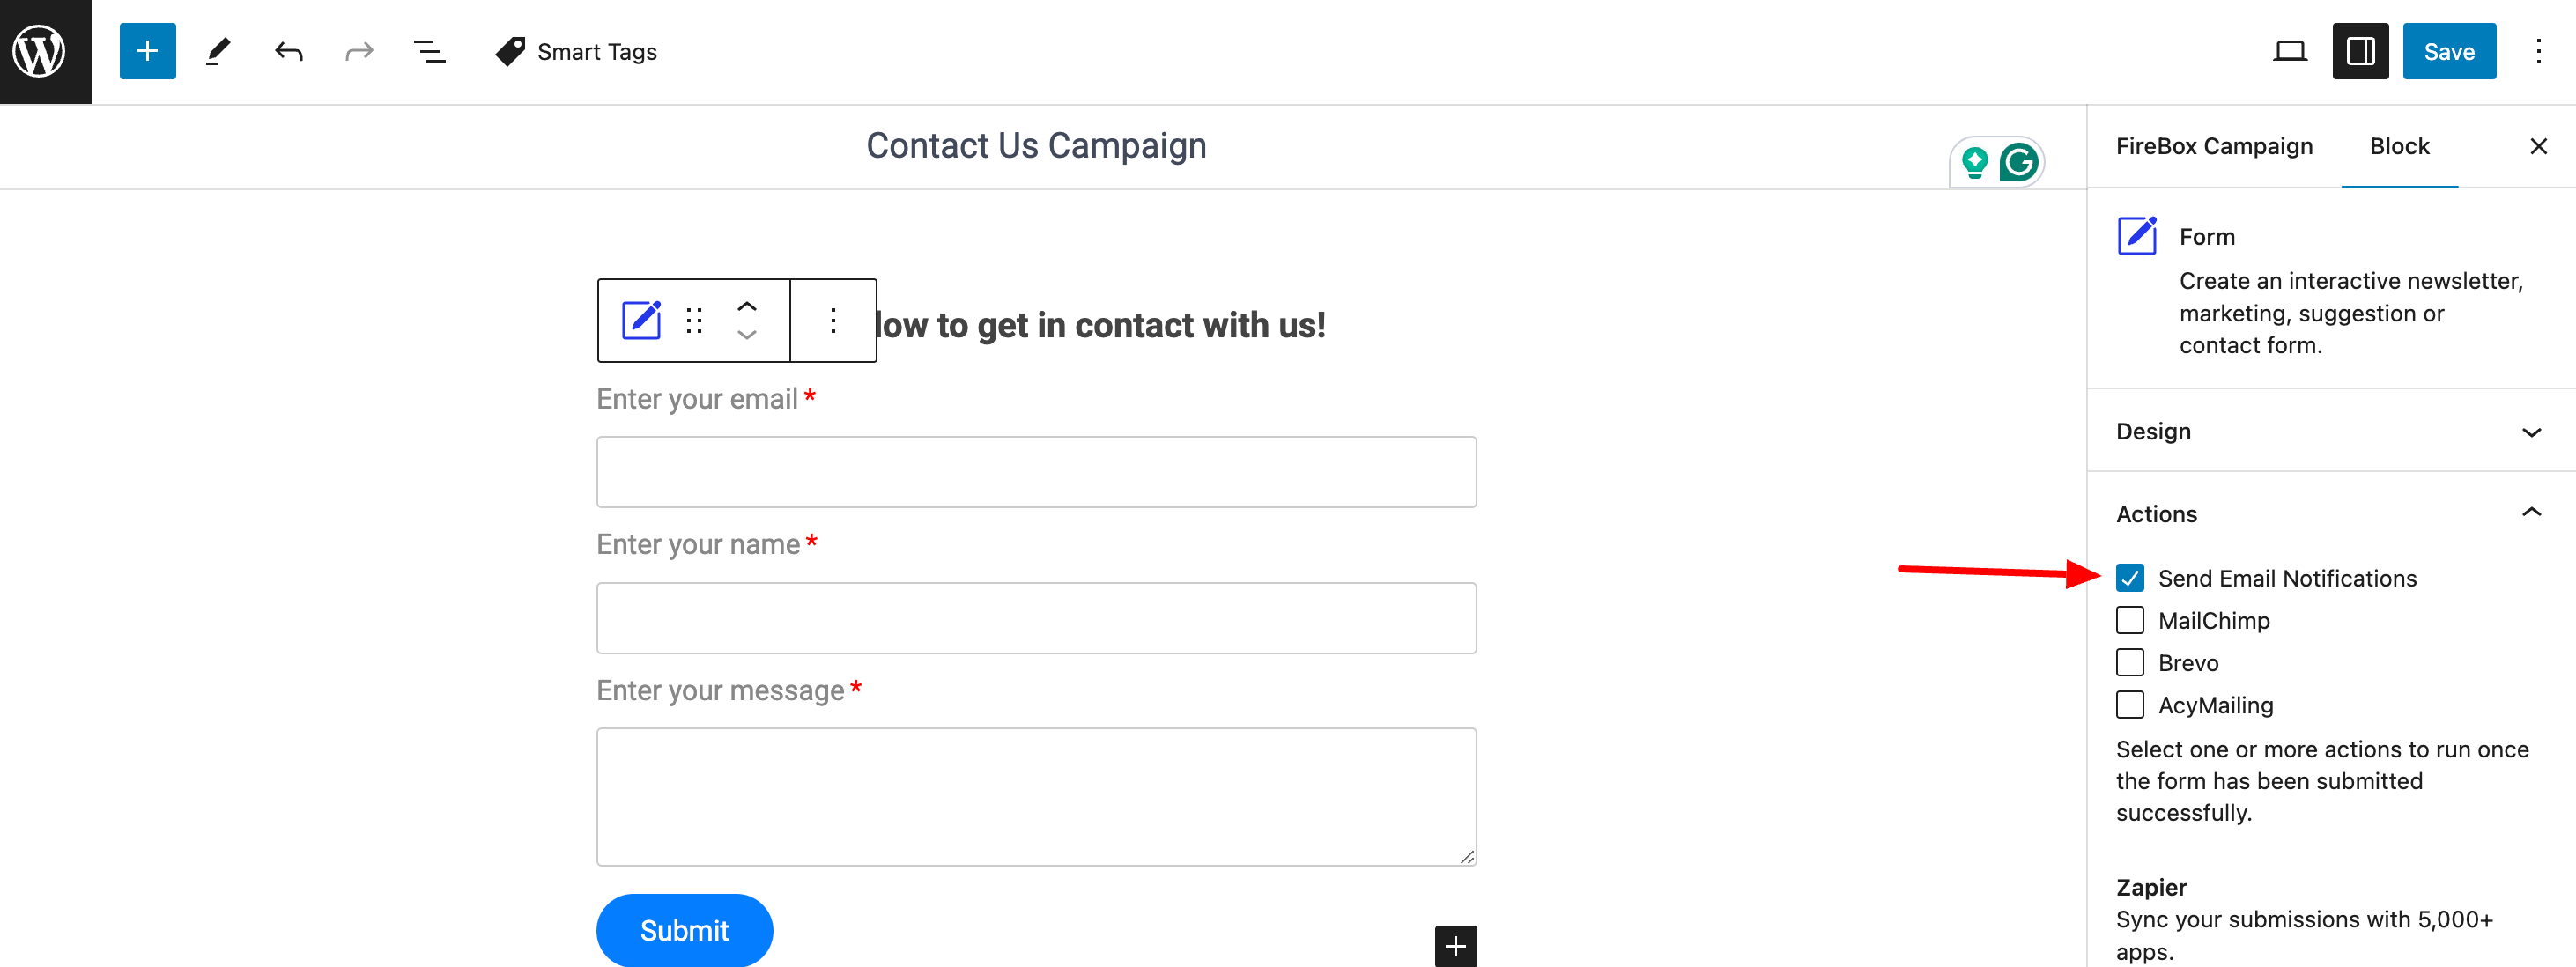
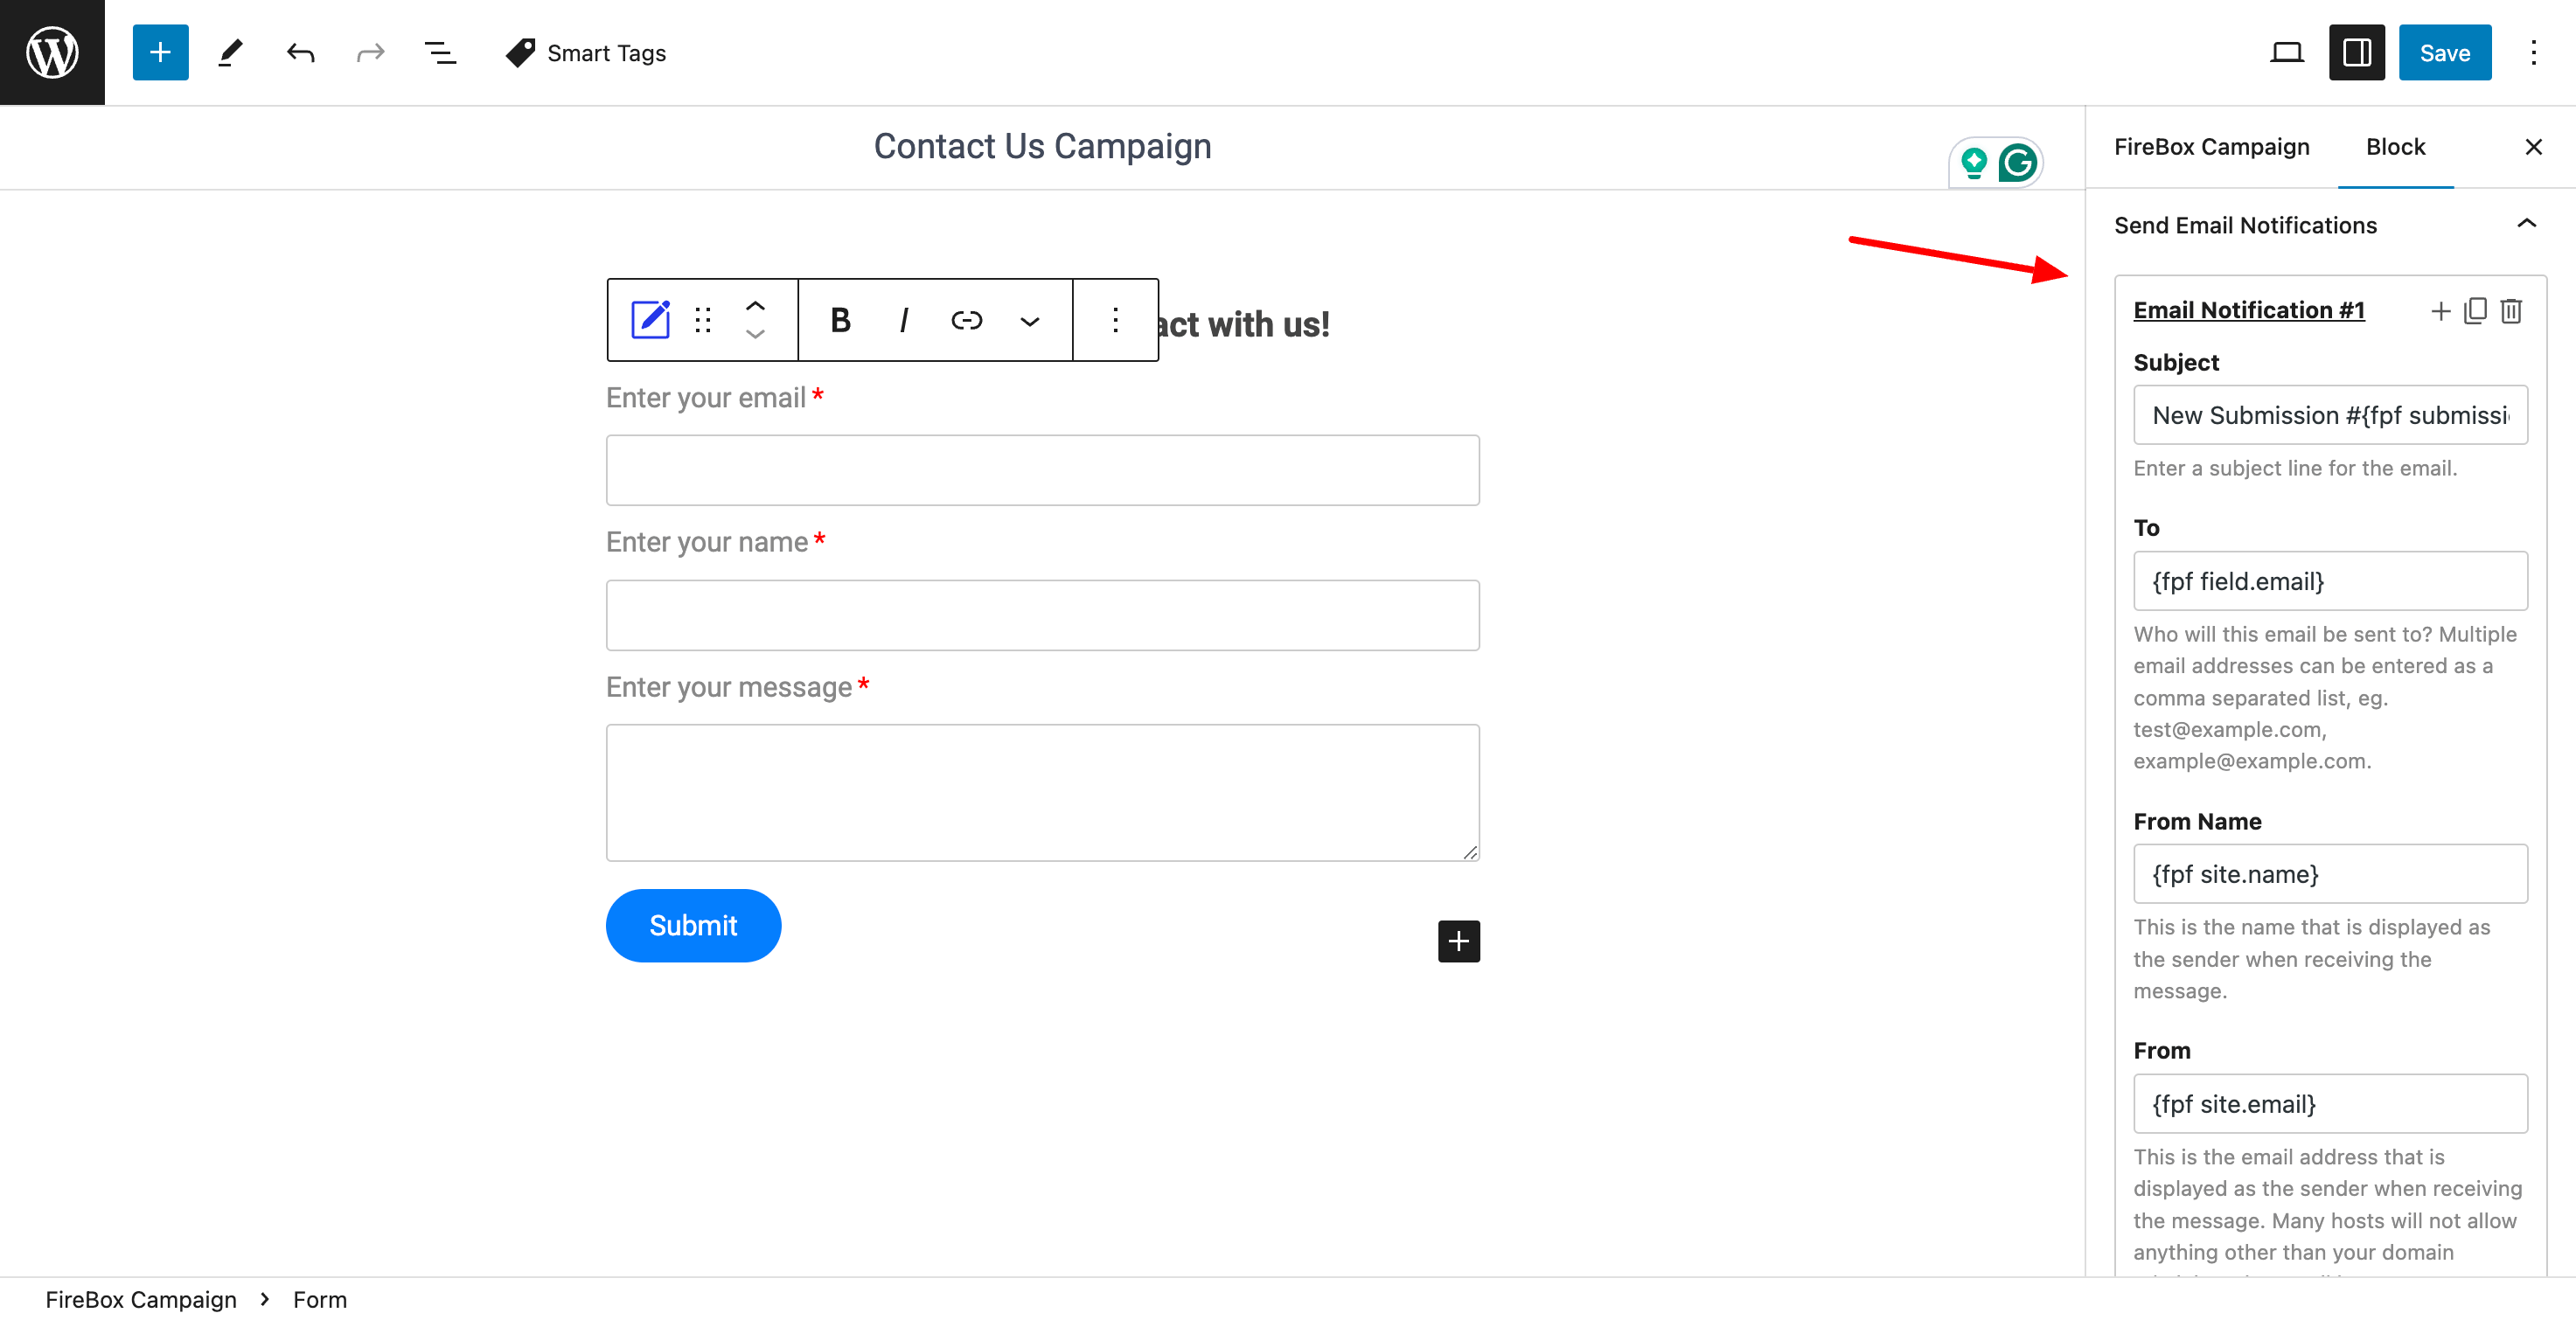
Upon selecting the “Send Email Notification” action, a new panel appears named “Send Email Notifications”, allowing you to configure the first email notification, which by default will be sent to your visitors with their submitted information.
You can customize the email notification as desired
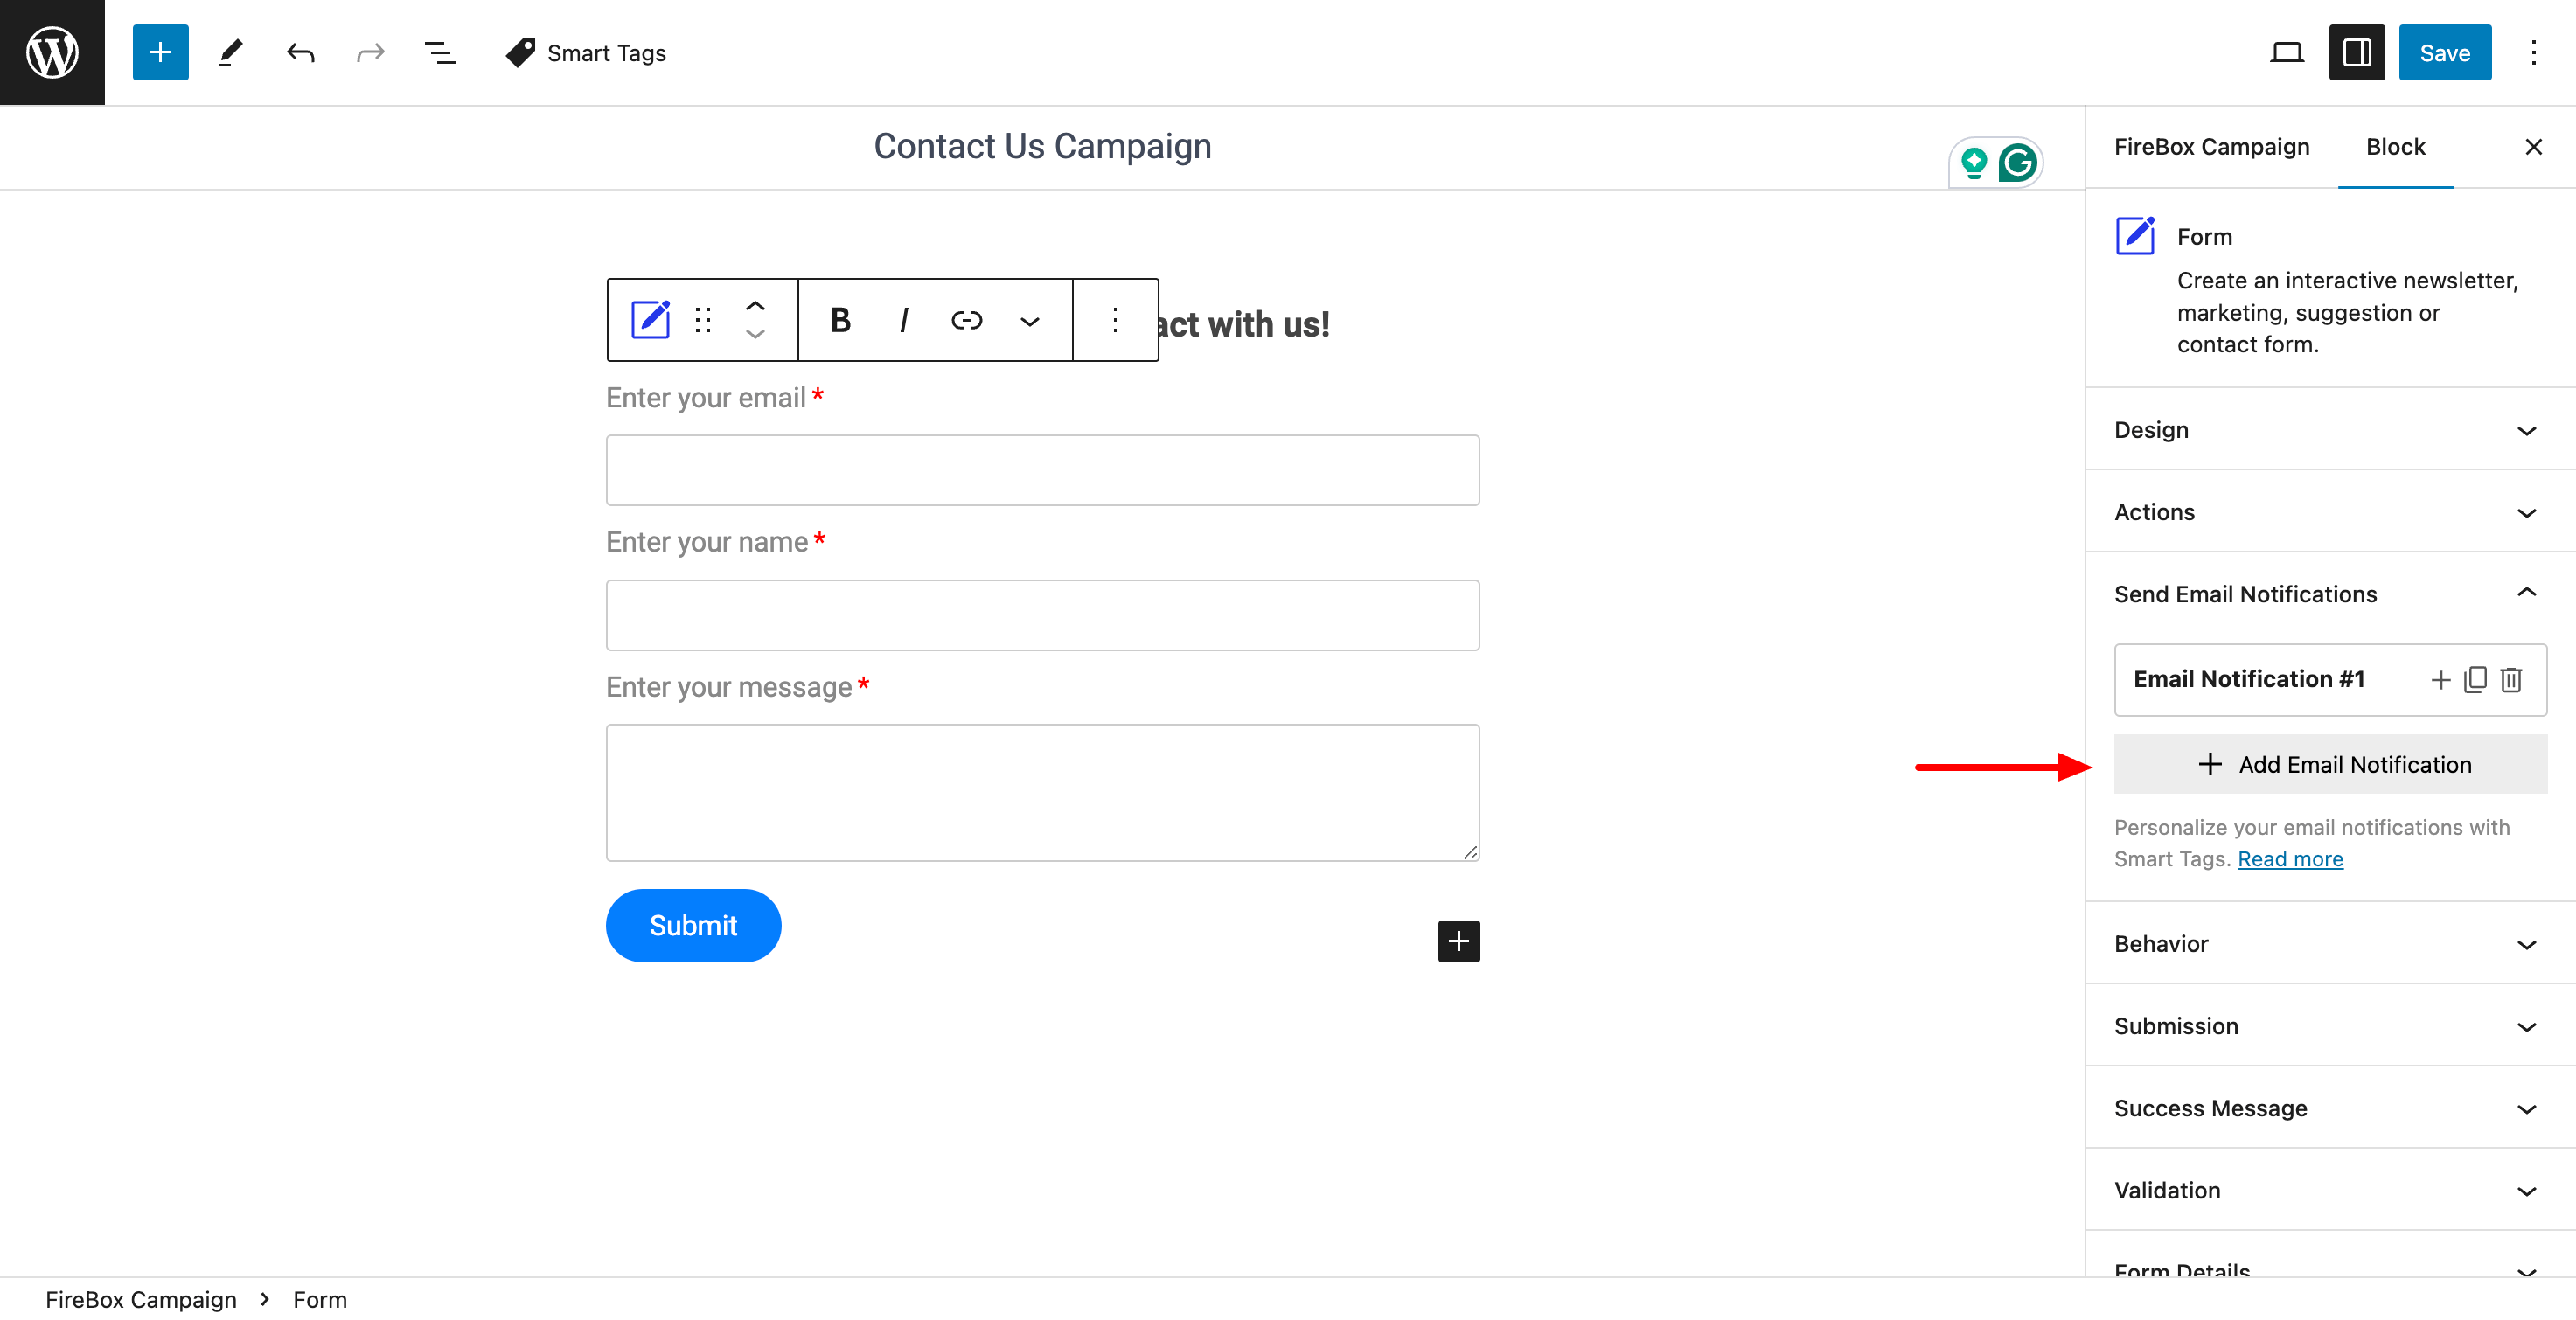
If you want to send more email notifications, you can click on the “Add Email Notification” button as seen below:
You can read more on how to set up email notifications on our dedicated documentation.
Step 4: Publish campaign
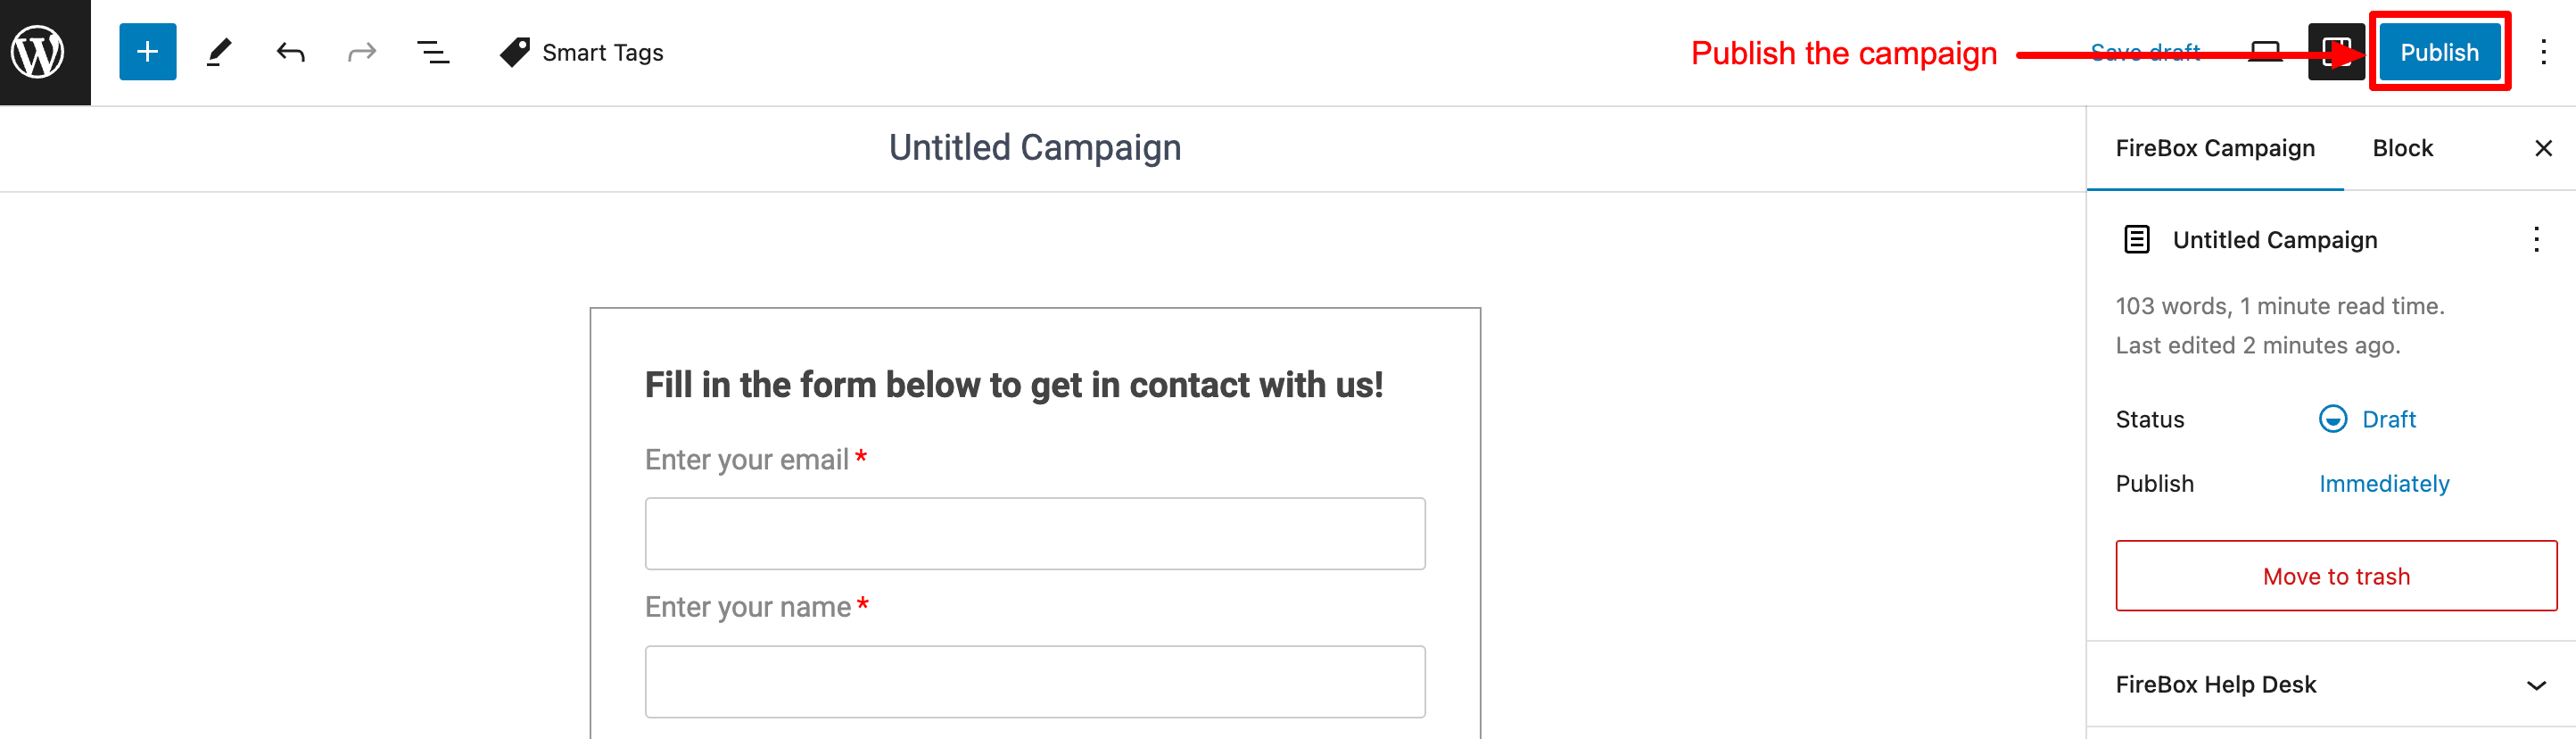
Once our contact form campaign has been set up and customized to our needs, we can hit the “Publish” button on the editor’s top right.
Step 5: Add Embed Campaign block to our page
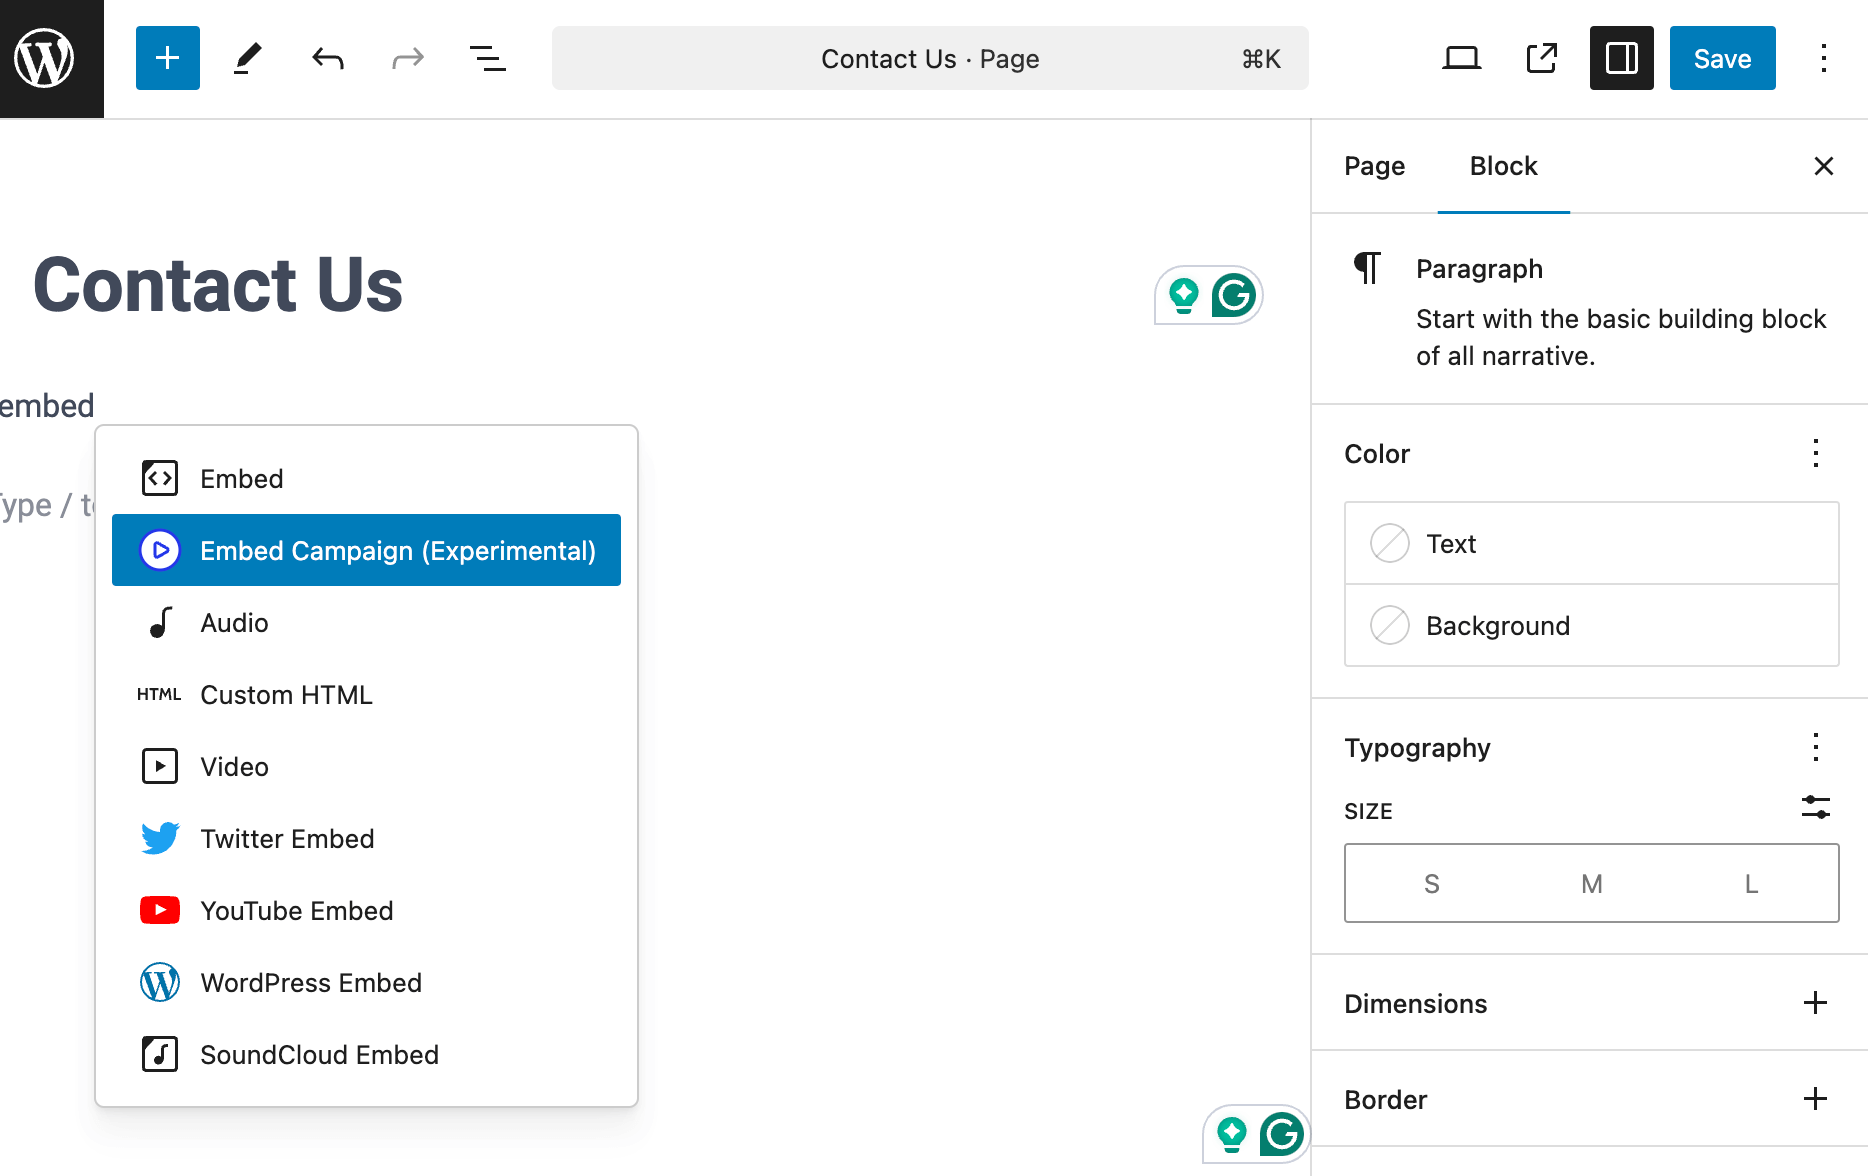
Now that the contact form campaign is ready, it’s time to add it to our page and start collecting leads. Head over to your WordPress post/page and add the block “Embed Campaign”, as seen below. This allows us to embed any FireBox campaign where the Campaign Mode is “Embed”.
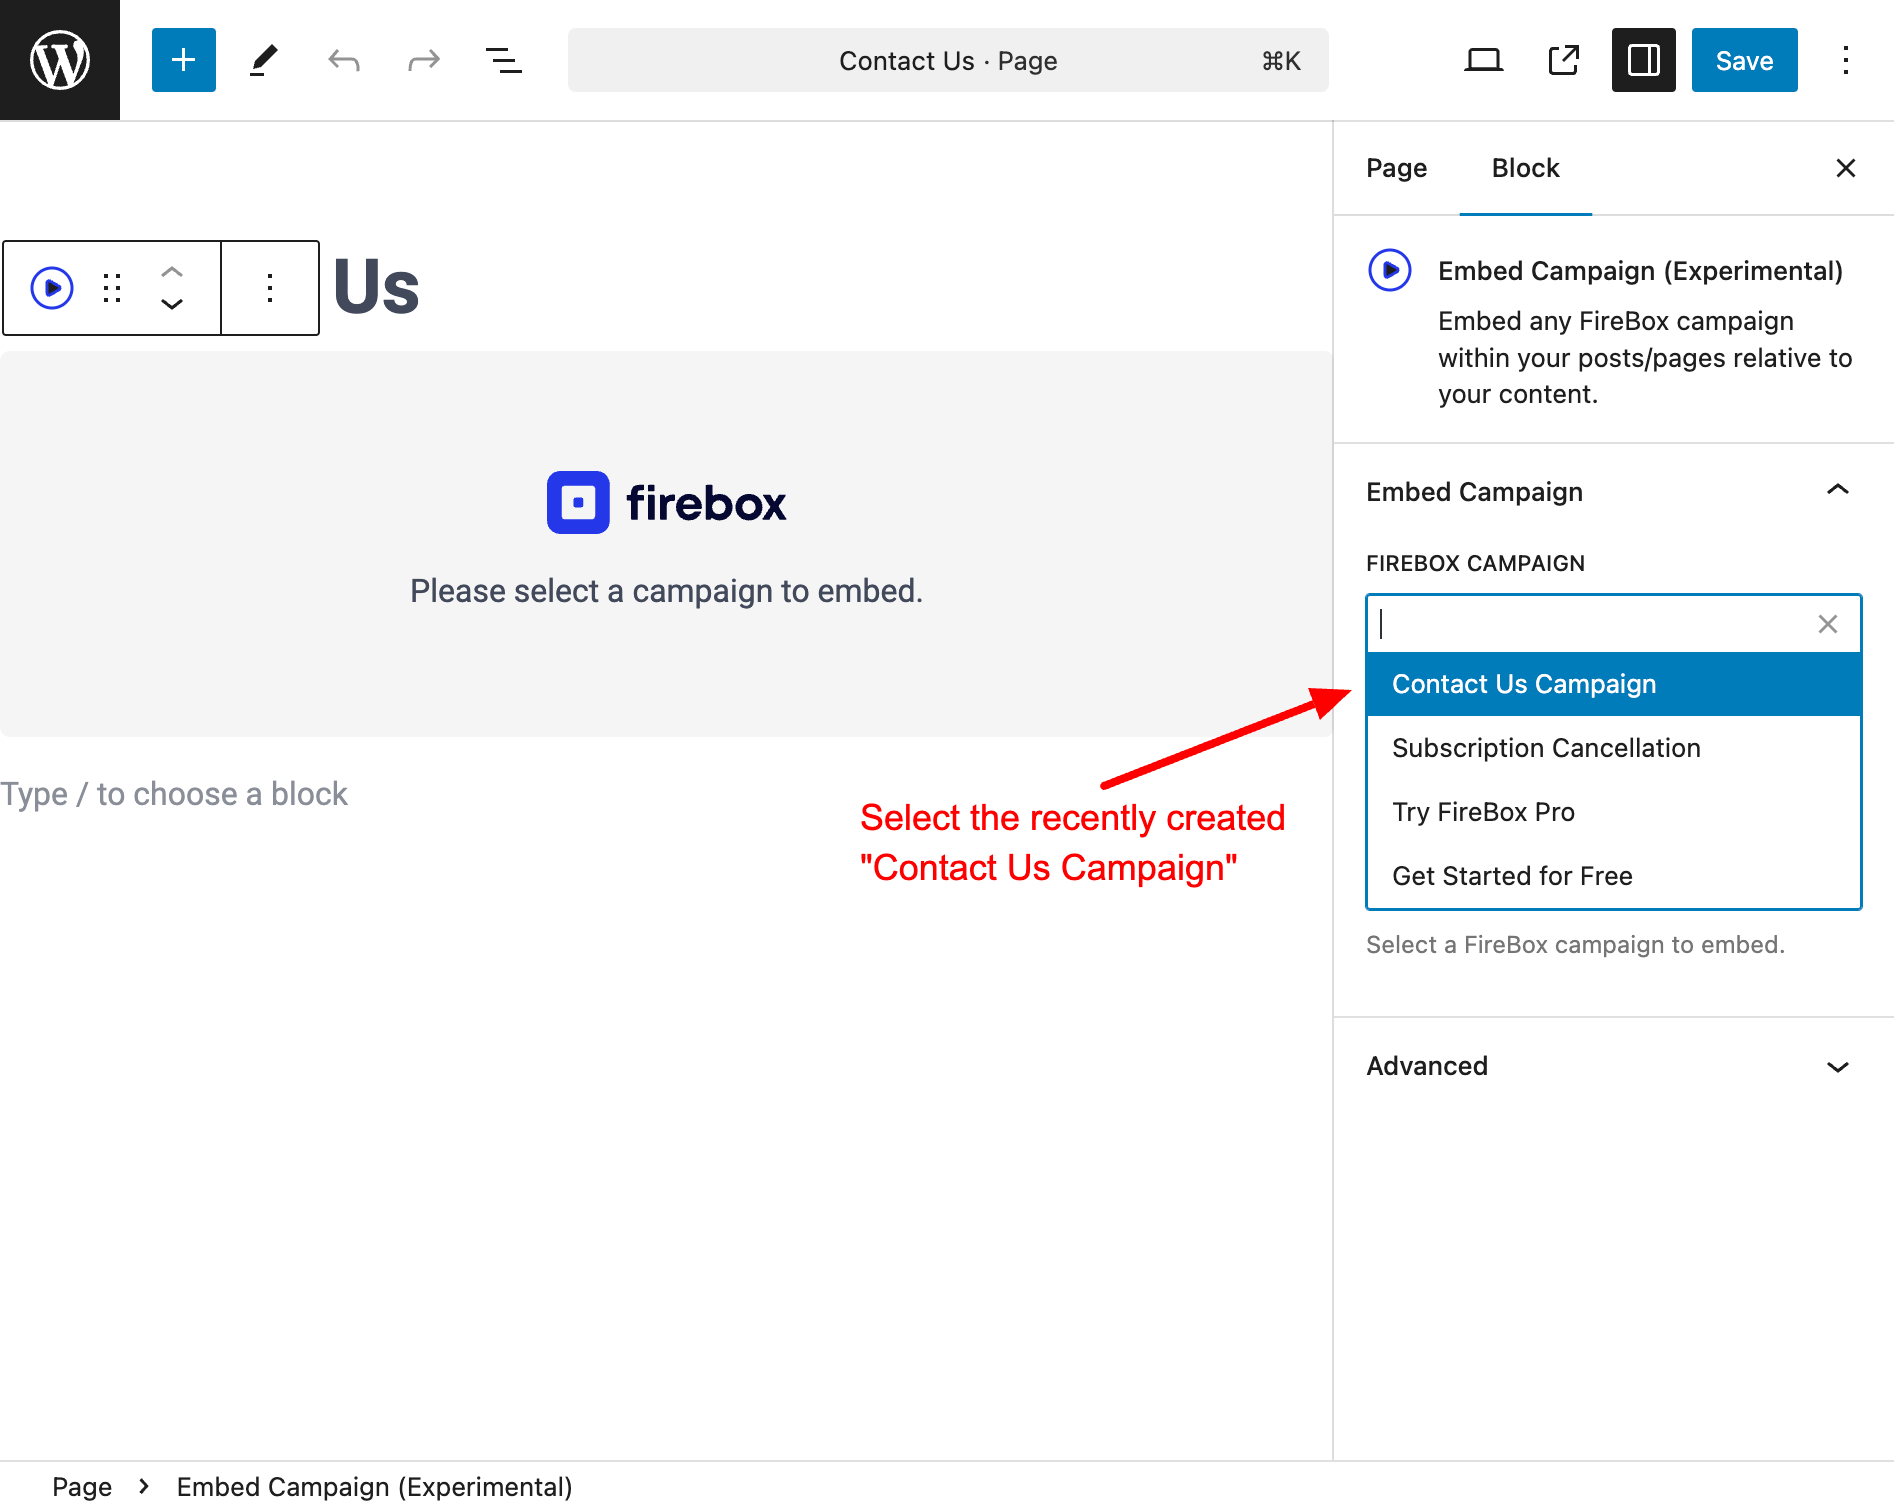
Step 6: Select the form campaign to embed
The very next step is to select which campaign to embed in our WordPress post/page. In our case, we want to embed our Contact Form campaign.
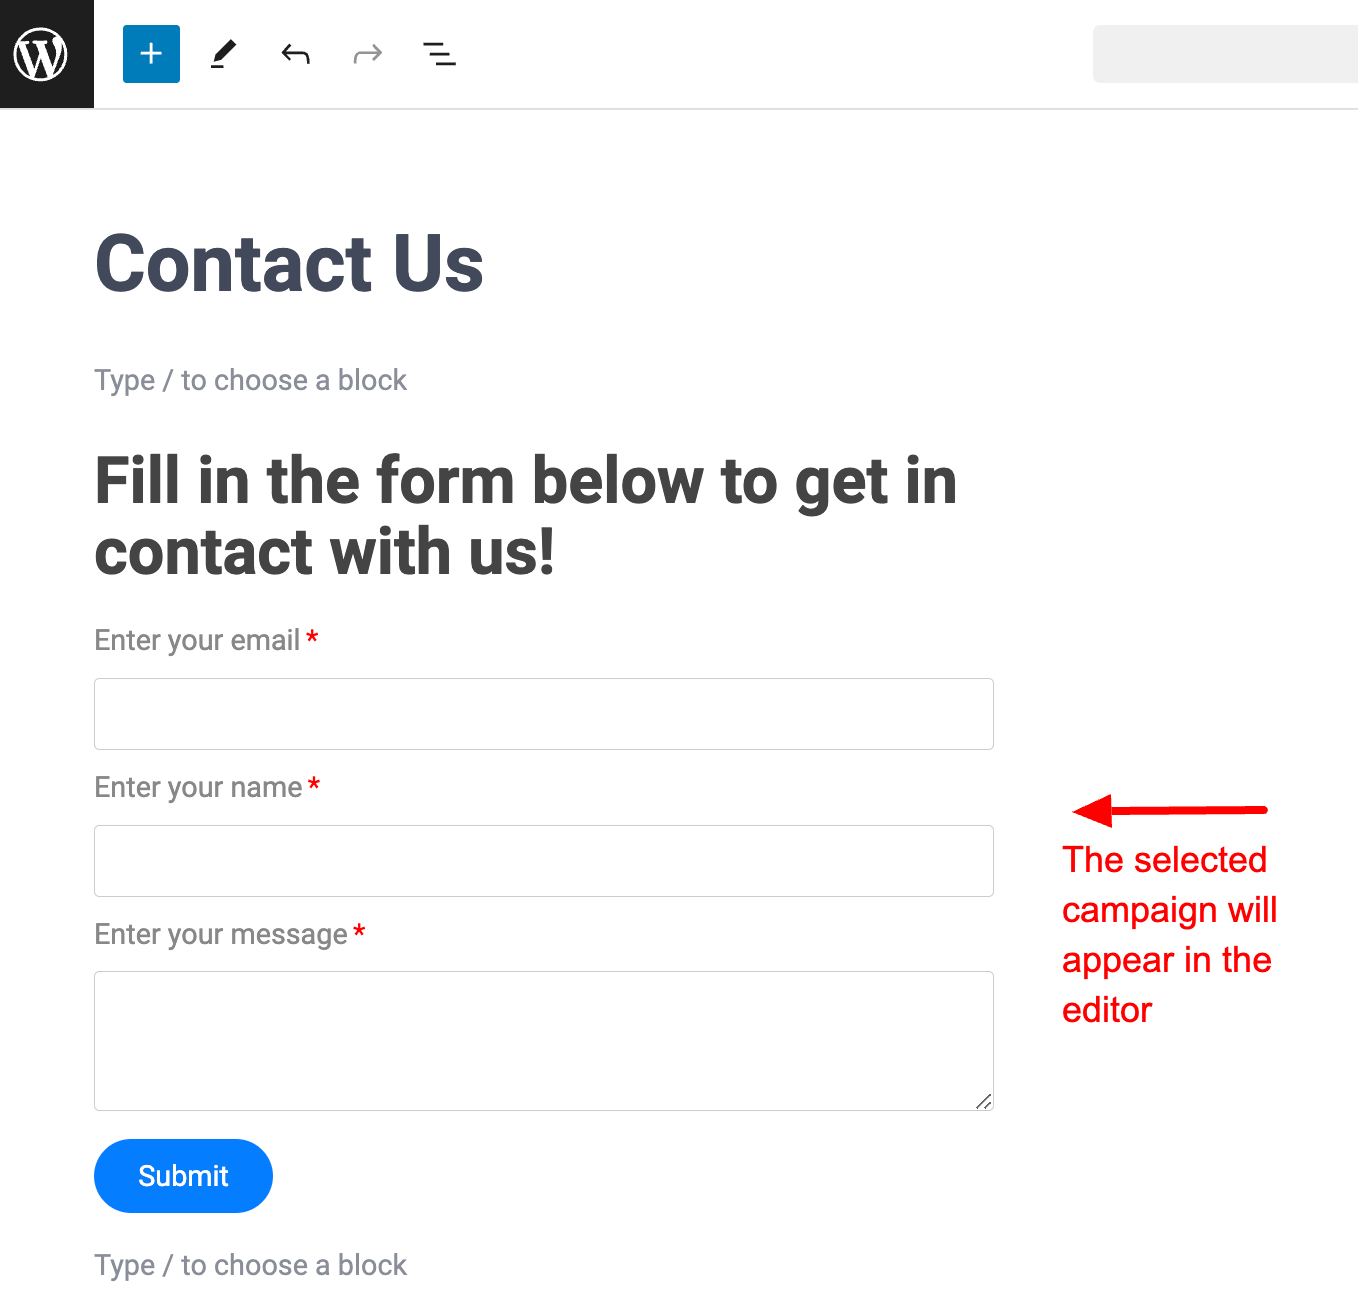
Step 7: Preview Contact Form Campaign
Upon selecting the contact form campaign, we can see a preview within the editor, giving us a look of how the page will appear to our visitors.
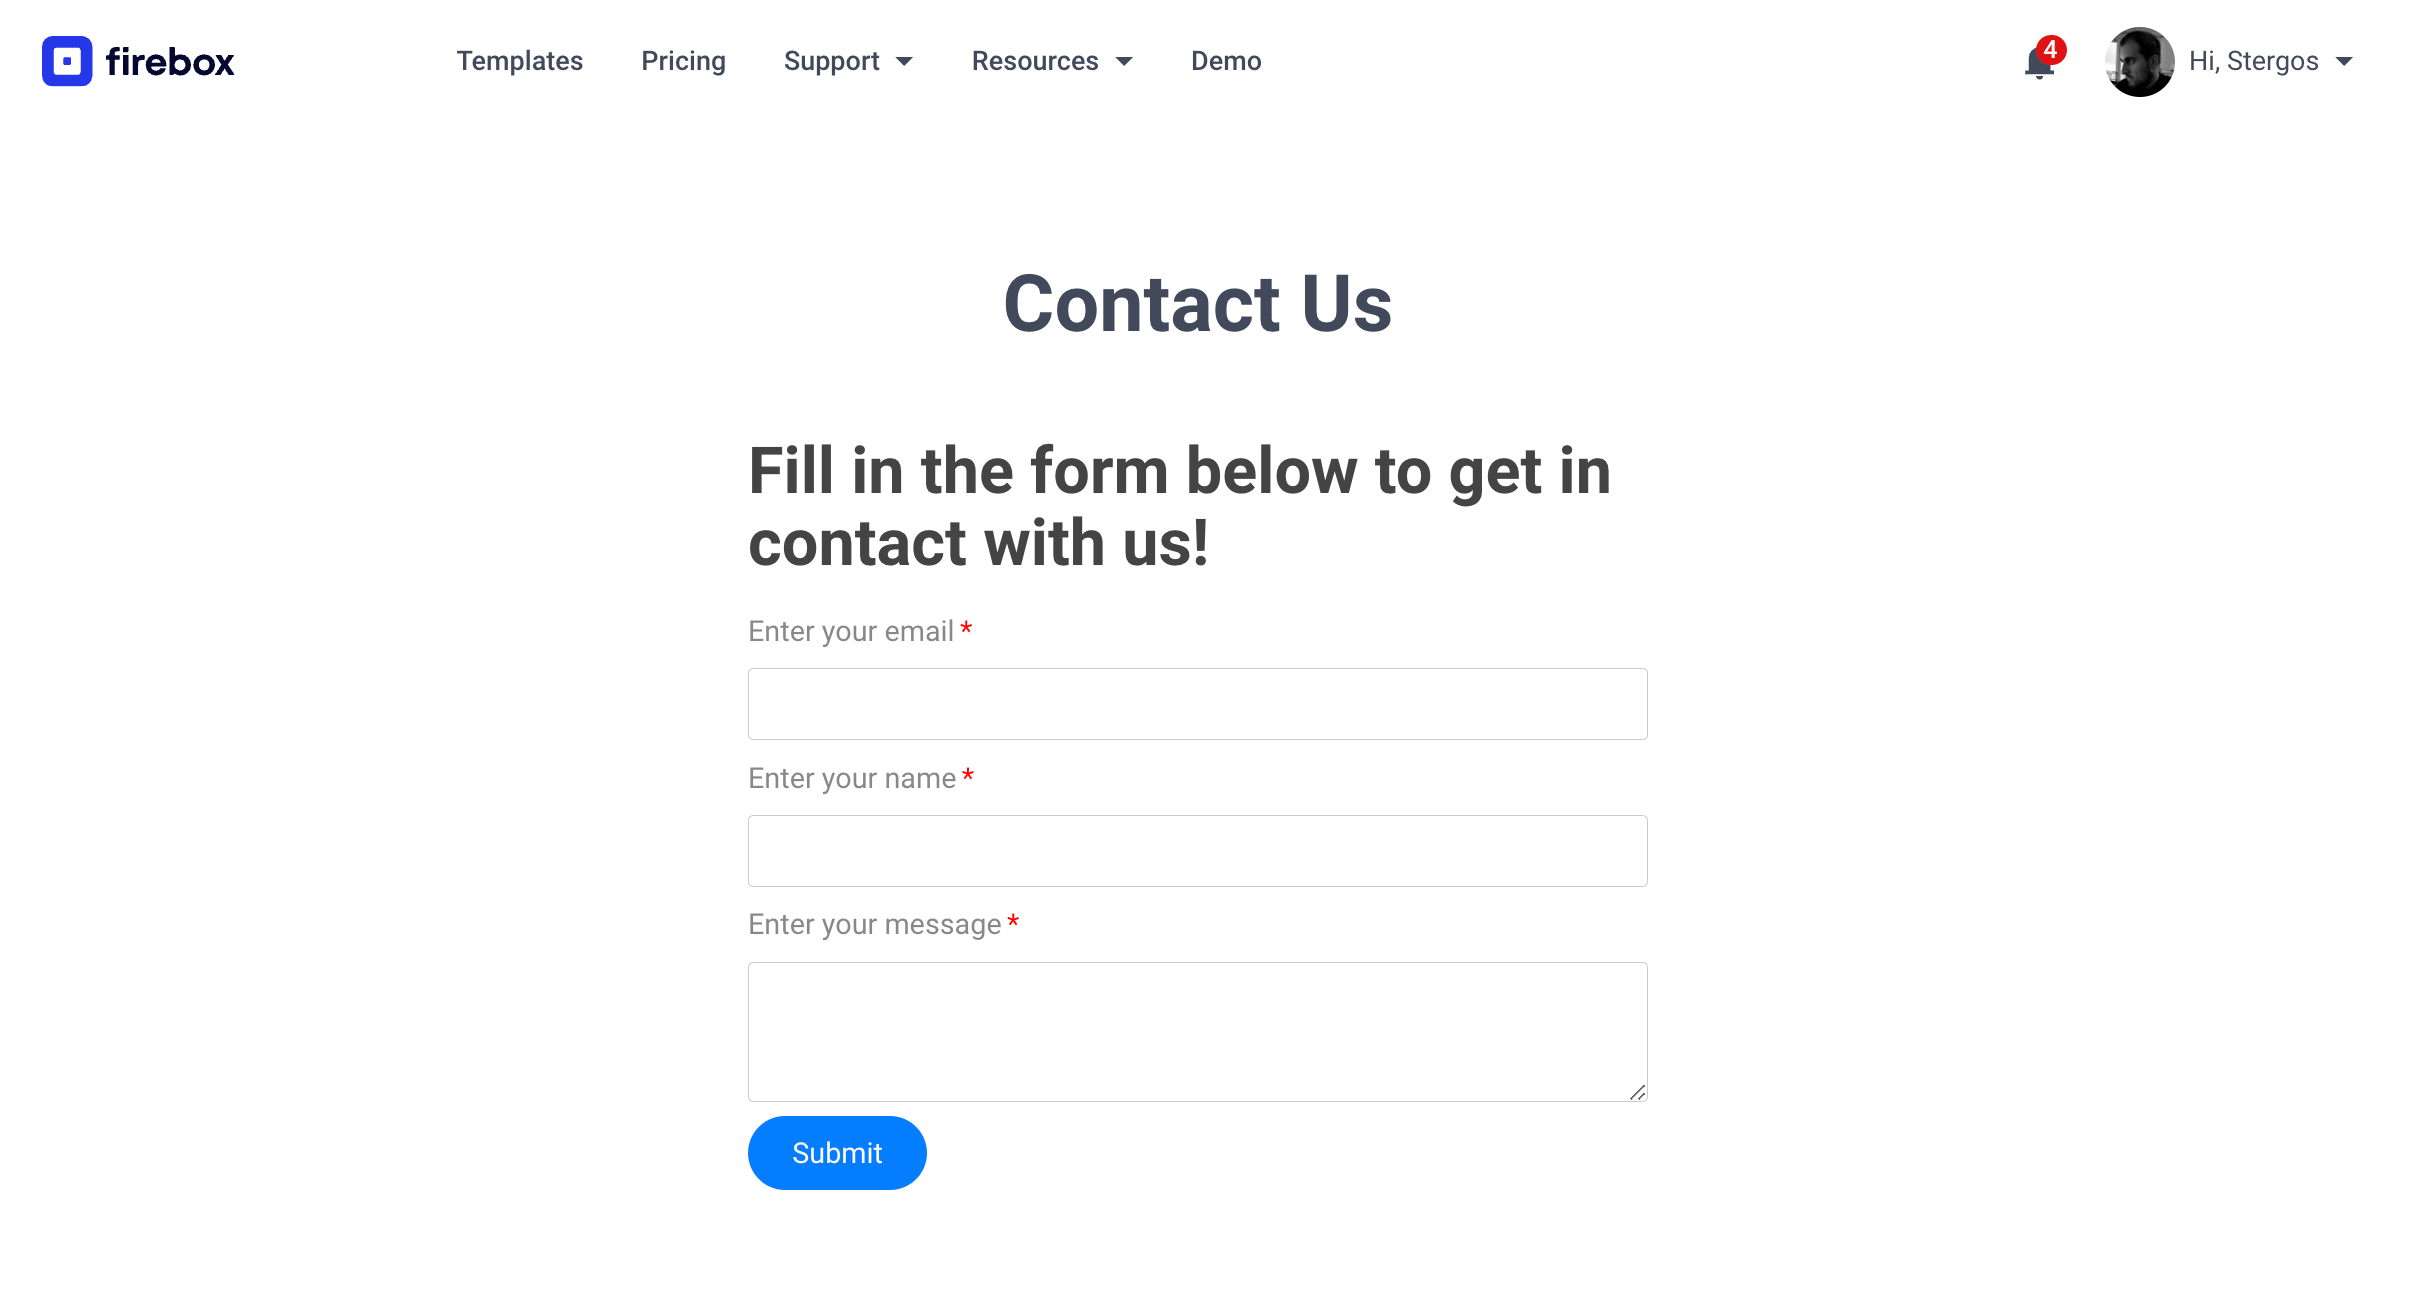
Step 8: Publish changes
Congratulations! We can now save our changes on our WordPress post/page and view the page. It will now contain our contact form campaign which our visitors can fill in and contact us!
Frequently Asked Questions
Can I customize the form’s appearance?
FireBox offers customization options for styling your forms to match your website’s design.
Can I integrate with other services?
FireBox offers integrations with email marketing platforms, such as MailChimp, Brevo, AcyMailing, and 8,000+ Zapier apps.
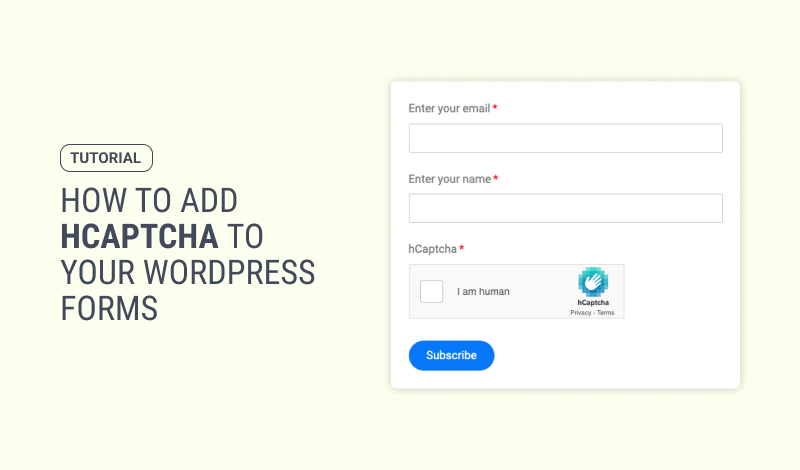
Can I protect my forms against spam?
FireBox provides built-in spam protection using honeypot. If that’s not enough, you can still use 3rd-party services such as hCaptcha, and Cloudflare Turnstile.
Can I create a WordPress popup form?
You can turn any form campaign into a WordPress popup form by reading more on our dedicated documentation page.
What if I need help?
The FireBox plugin documentation or support are great resources for getting help.
Conclusion
Creating a custom contact form doesn’t have to be complicated. With FireBox, you can easily build and embed professional-looking forms that perfectly meet your needs. Stop settling for generic forms and create a better user experience for your visitors! Give FireBox a try today and take control of your website’s contact process.

0 Comments